Learning to Draw for Beginners
Anyone who has decided to take up this new hobby as a complete beginner in the field of drawing and painting will likely start by looking for some tips that might help. But (unfortunately) there are no ultimate tips and tricks that can do the practicing for you.
Ultimately, you can only learn a new skill (german) through regular practice.
On this page, I’d still like to offer some guidance so that you can practice drawing in a focused, targeted way rather than haphazardly. 😉
1. Don’t be afraid of a blank page
Many aspiring artists convince themselves they aren’t good enough and don’t even dare to get started. But every journey begins with a single step. So just start doodling—the result doesn’t matter at first; what matters is the practice itself. 😉
Who would have thought? If you practice regularly, you’ll get better over time. Of course, the same goes for drawing. But just like with sports, it’s important not to always practice the same thing, but to take on new challenges and focus on improving the skills you haven’t mastered yet.
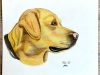
2. Motifs for Beginners
“Choose an easy subject to draw” is good advice. But if you’ve never drawn before, it’s not always easy to tell what counts as a simple subject and what might actually be harder to draw than you first thought.
Generally speaking, subjects made up of just a few simple shapes with very few details are the easiest. Want some examples? Anything round is very easy to draw (a ball, an apple, a melon, etc.). Subjects with few details could include a banana, a TV, a lamp, or something similar.
Trying to draw too many different subjects at once can also be counterproductive. So instead of a whole fruit bowl, start by drawing a single piece of fruit.
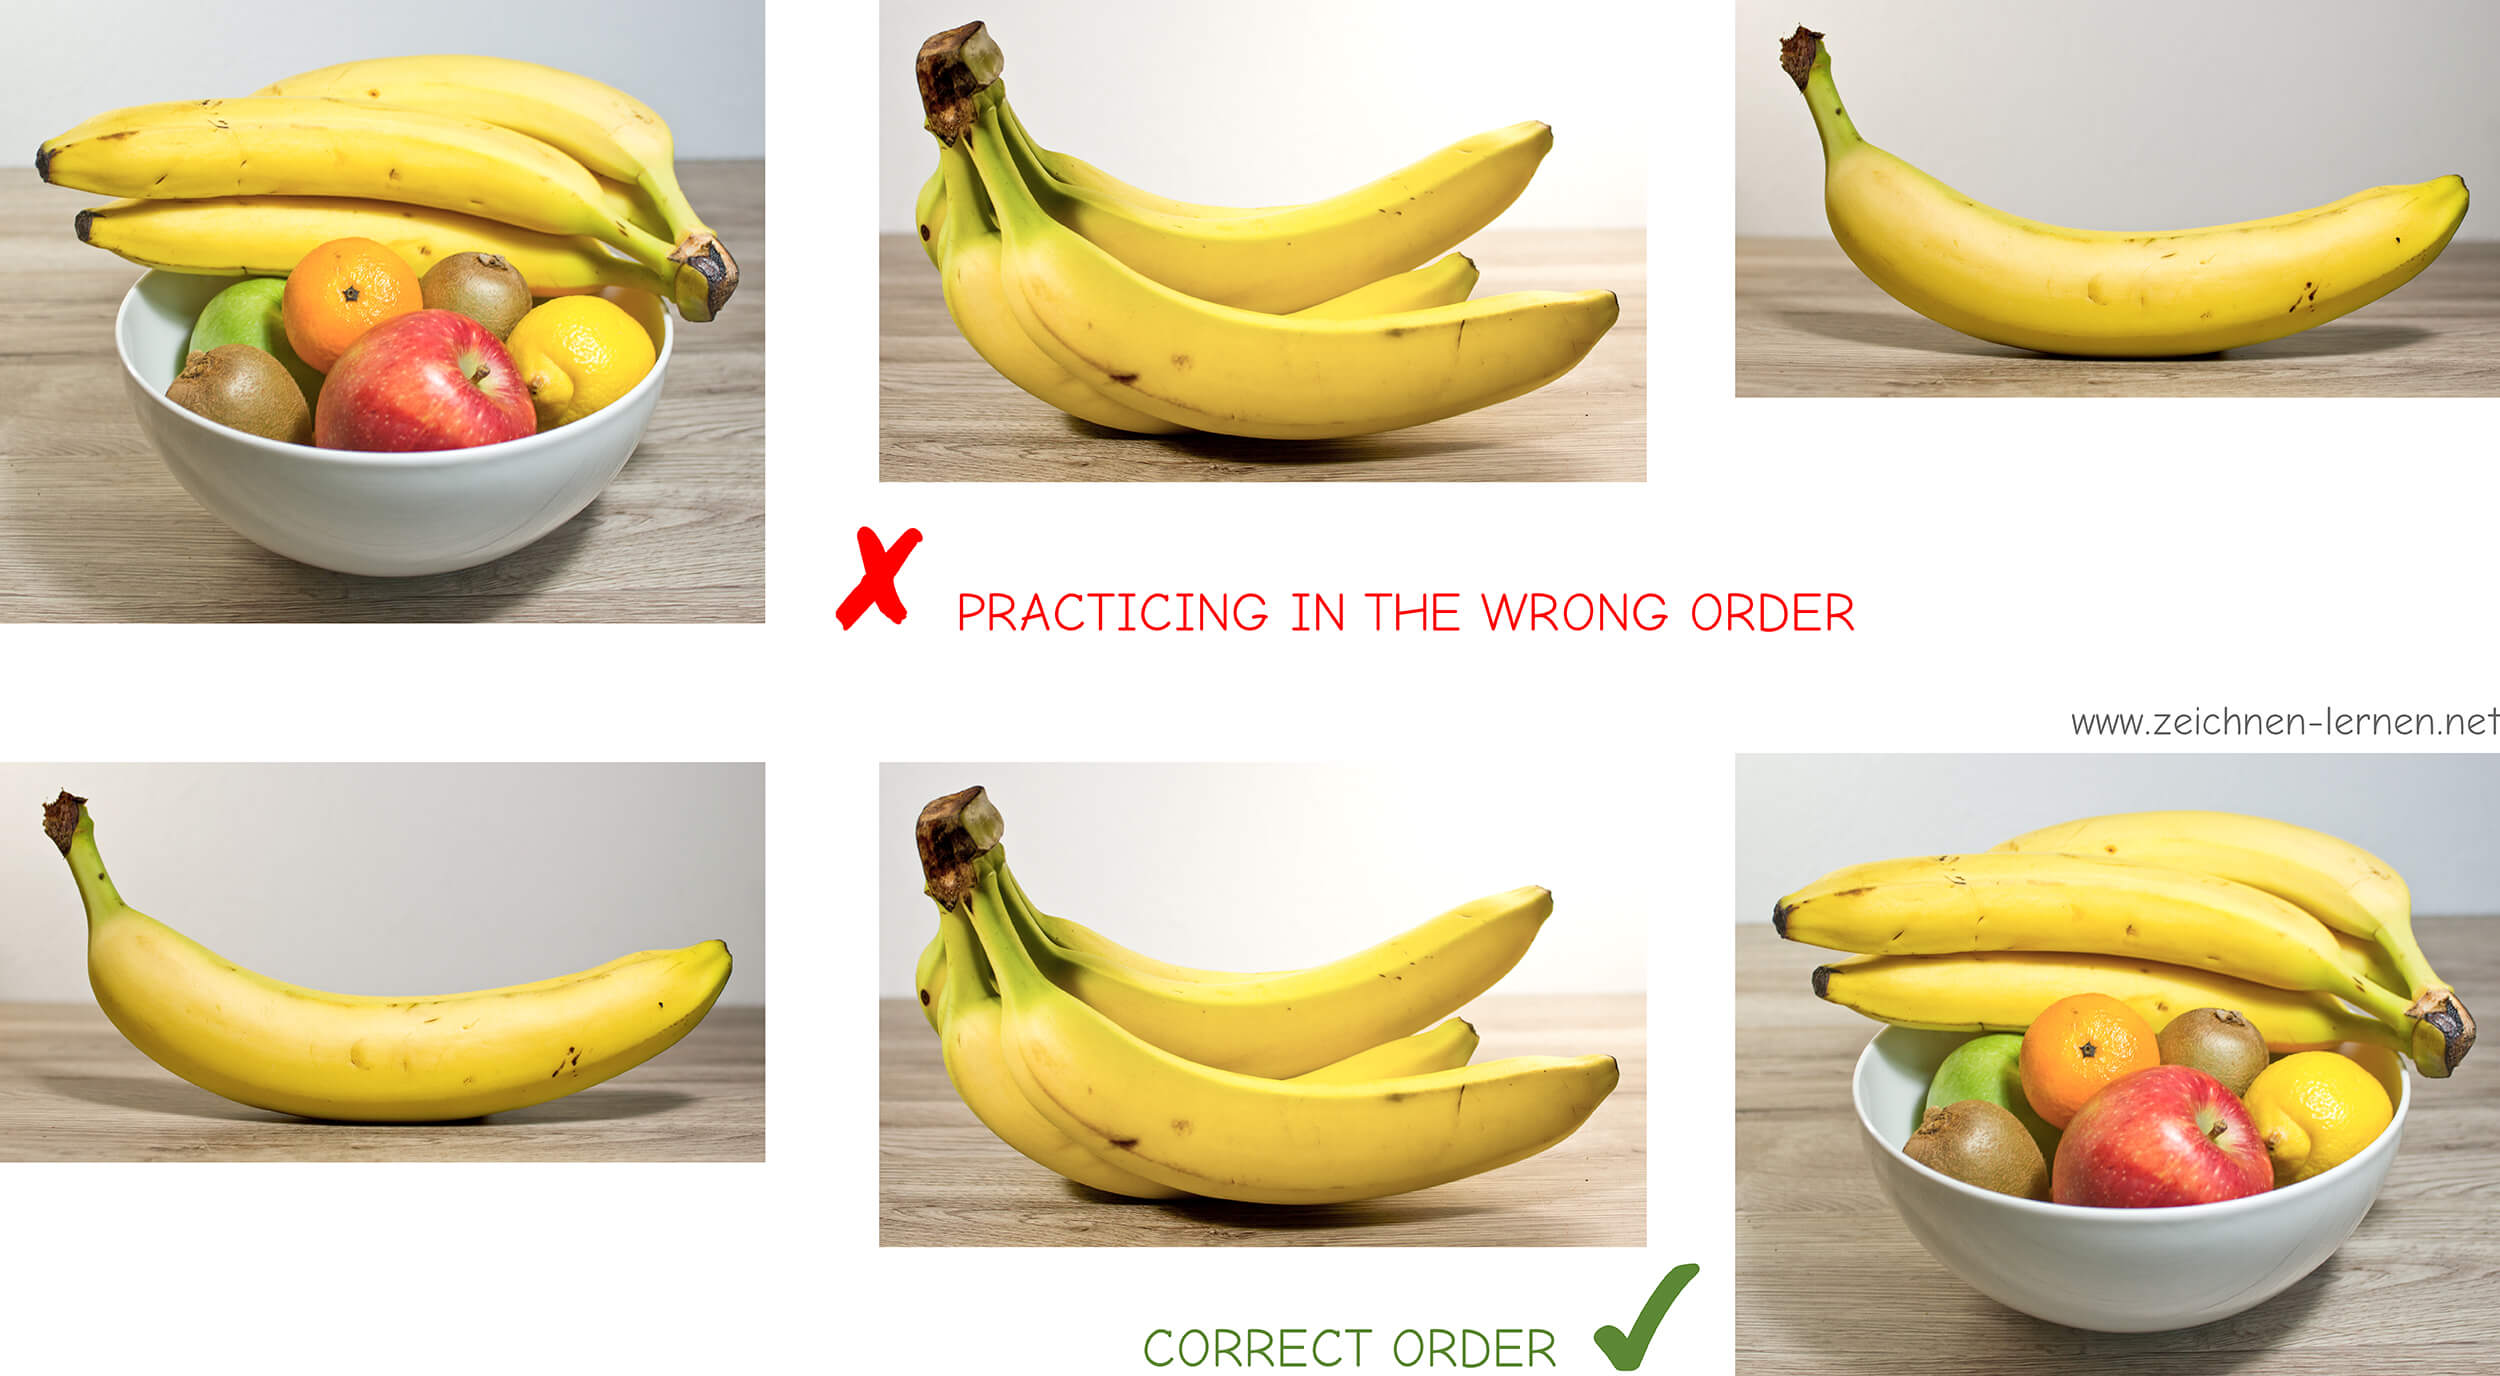
When working from a photo, this applies just as much as when drawing subjects that are right in front of you or from memory.
3. Always make sure you enjoy what you’re doing
If you have to force yourself to do something and aren’t enjoying it, you’re not putting your whole heart into it. So if you don’t enjoy drawing at all, you need to ask yourself honestly why you want to learn it.
If a stressful daily routine is dampening your enjoyment of regular drawing practice, then you shouldn’t force yourself to do it at all costs. Drawing should be a hobby that brings you joy and relaxation, not a tedious chore.
4. The Question of Materials
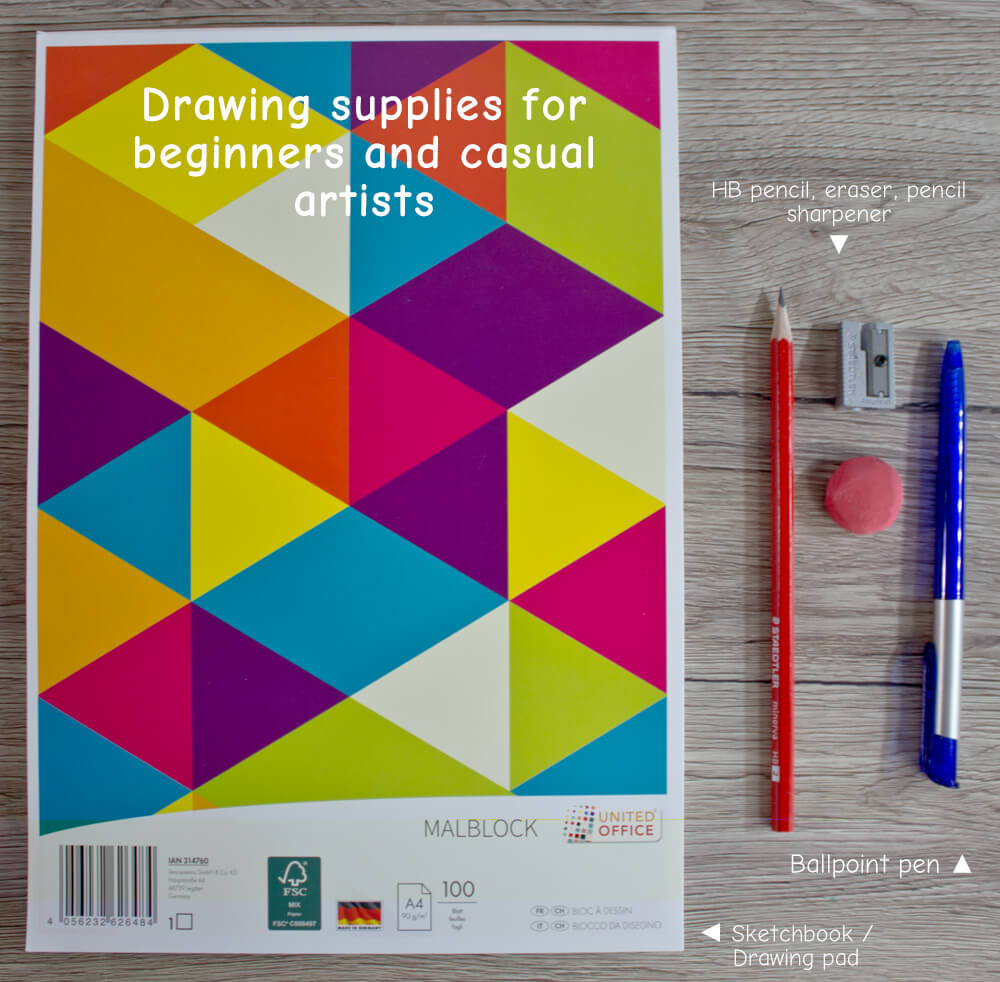
When you’re a beginner looking to learn how to draw, the question of which materials you “must” use quickly arises. Is a ballpoint pen and a notebook enough, or do you absolutely need a proper artist’s pencil and special sketch paper?
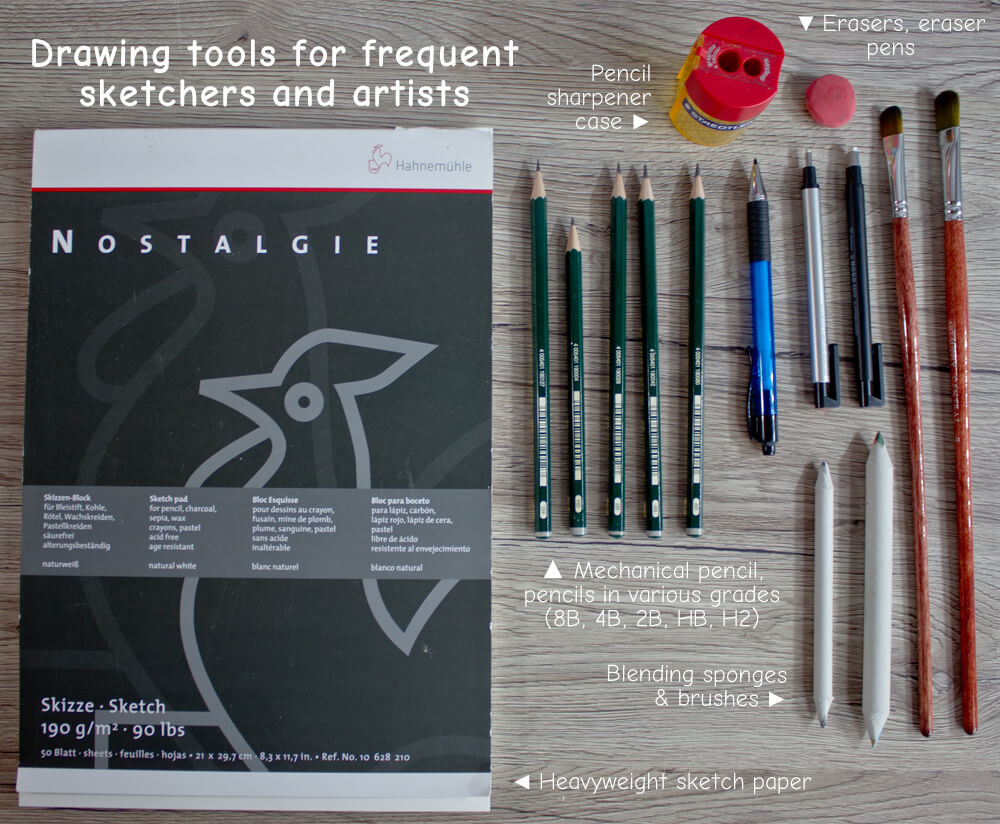
If you just want to see if drawing is the right hobby for you, you can use whatever you already have at home. However, if you’re certain you want to draw more often and with ambition, specialized materials are certainly helpful.
You definitely don’t need expensive, high-quality art supplies to draw good pictures. Even discount store items or budget brands guarantee satisfactory results. It’s not the material that makes a drawing good, but the artist’s skill. However, you shouldn’t be tempted by overly cheap offers from the internet. Low-quality materials can quickly ruin the fun of drawing and painting! You can find a list of established brands (german) here.
In any case, it is advisable to invest in good paper. Sketching or drawing paper is definitely preferable to printer paper or college-ruled notebooks. Good paper offers a completely different feel than those not designed for this purpose.
Whether you use a ballpoint pen, pencil, colored pencil, fineliner, or some other medium is entirely up to the artist’s personal preference. Each medium has its own appeal and offers its own techniques and possibilities.
5. The Myth of Talent
There are talented people who find it easier to learn new things, and there are people who aren’t so lucky. But talent isn’t an absolute prerequisite for learning something—even when it comes to learning to draw, talent isn’t a must (german). People who are supposedly untalented simply have to practice more and more often than those who are talented. That’s all!
6. Unrealistic expectations of oneself
You are often your own harshest critic. But you shouldn’t be too hard on yourself. Your expectations need to be realistic in relation to your own abilities. It’s okay for a project to go completely wrong sometimes—only by allowing yourself to make mistakes can you learn from them.
7. The Right Learning Curve
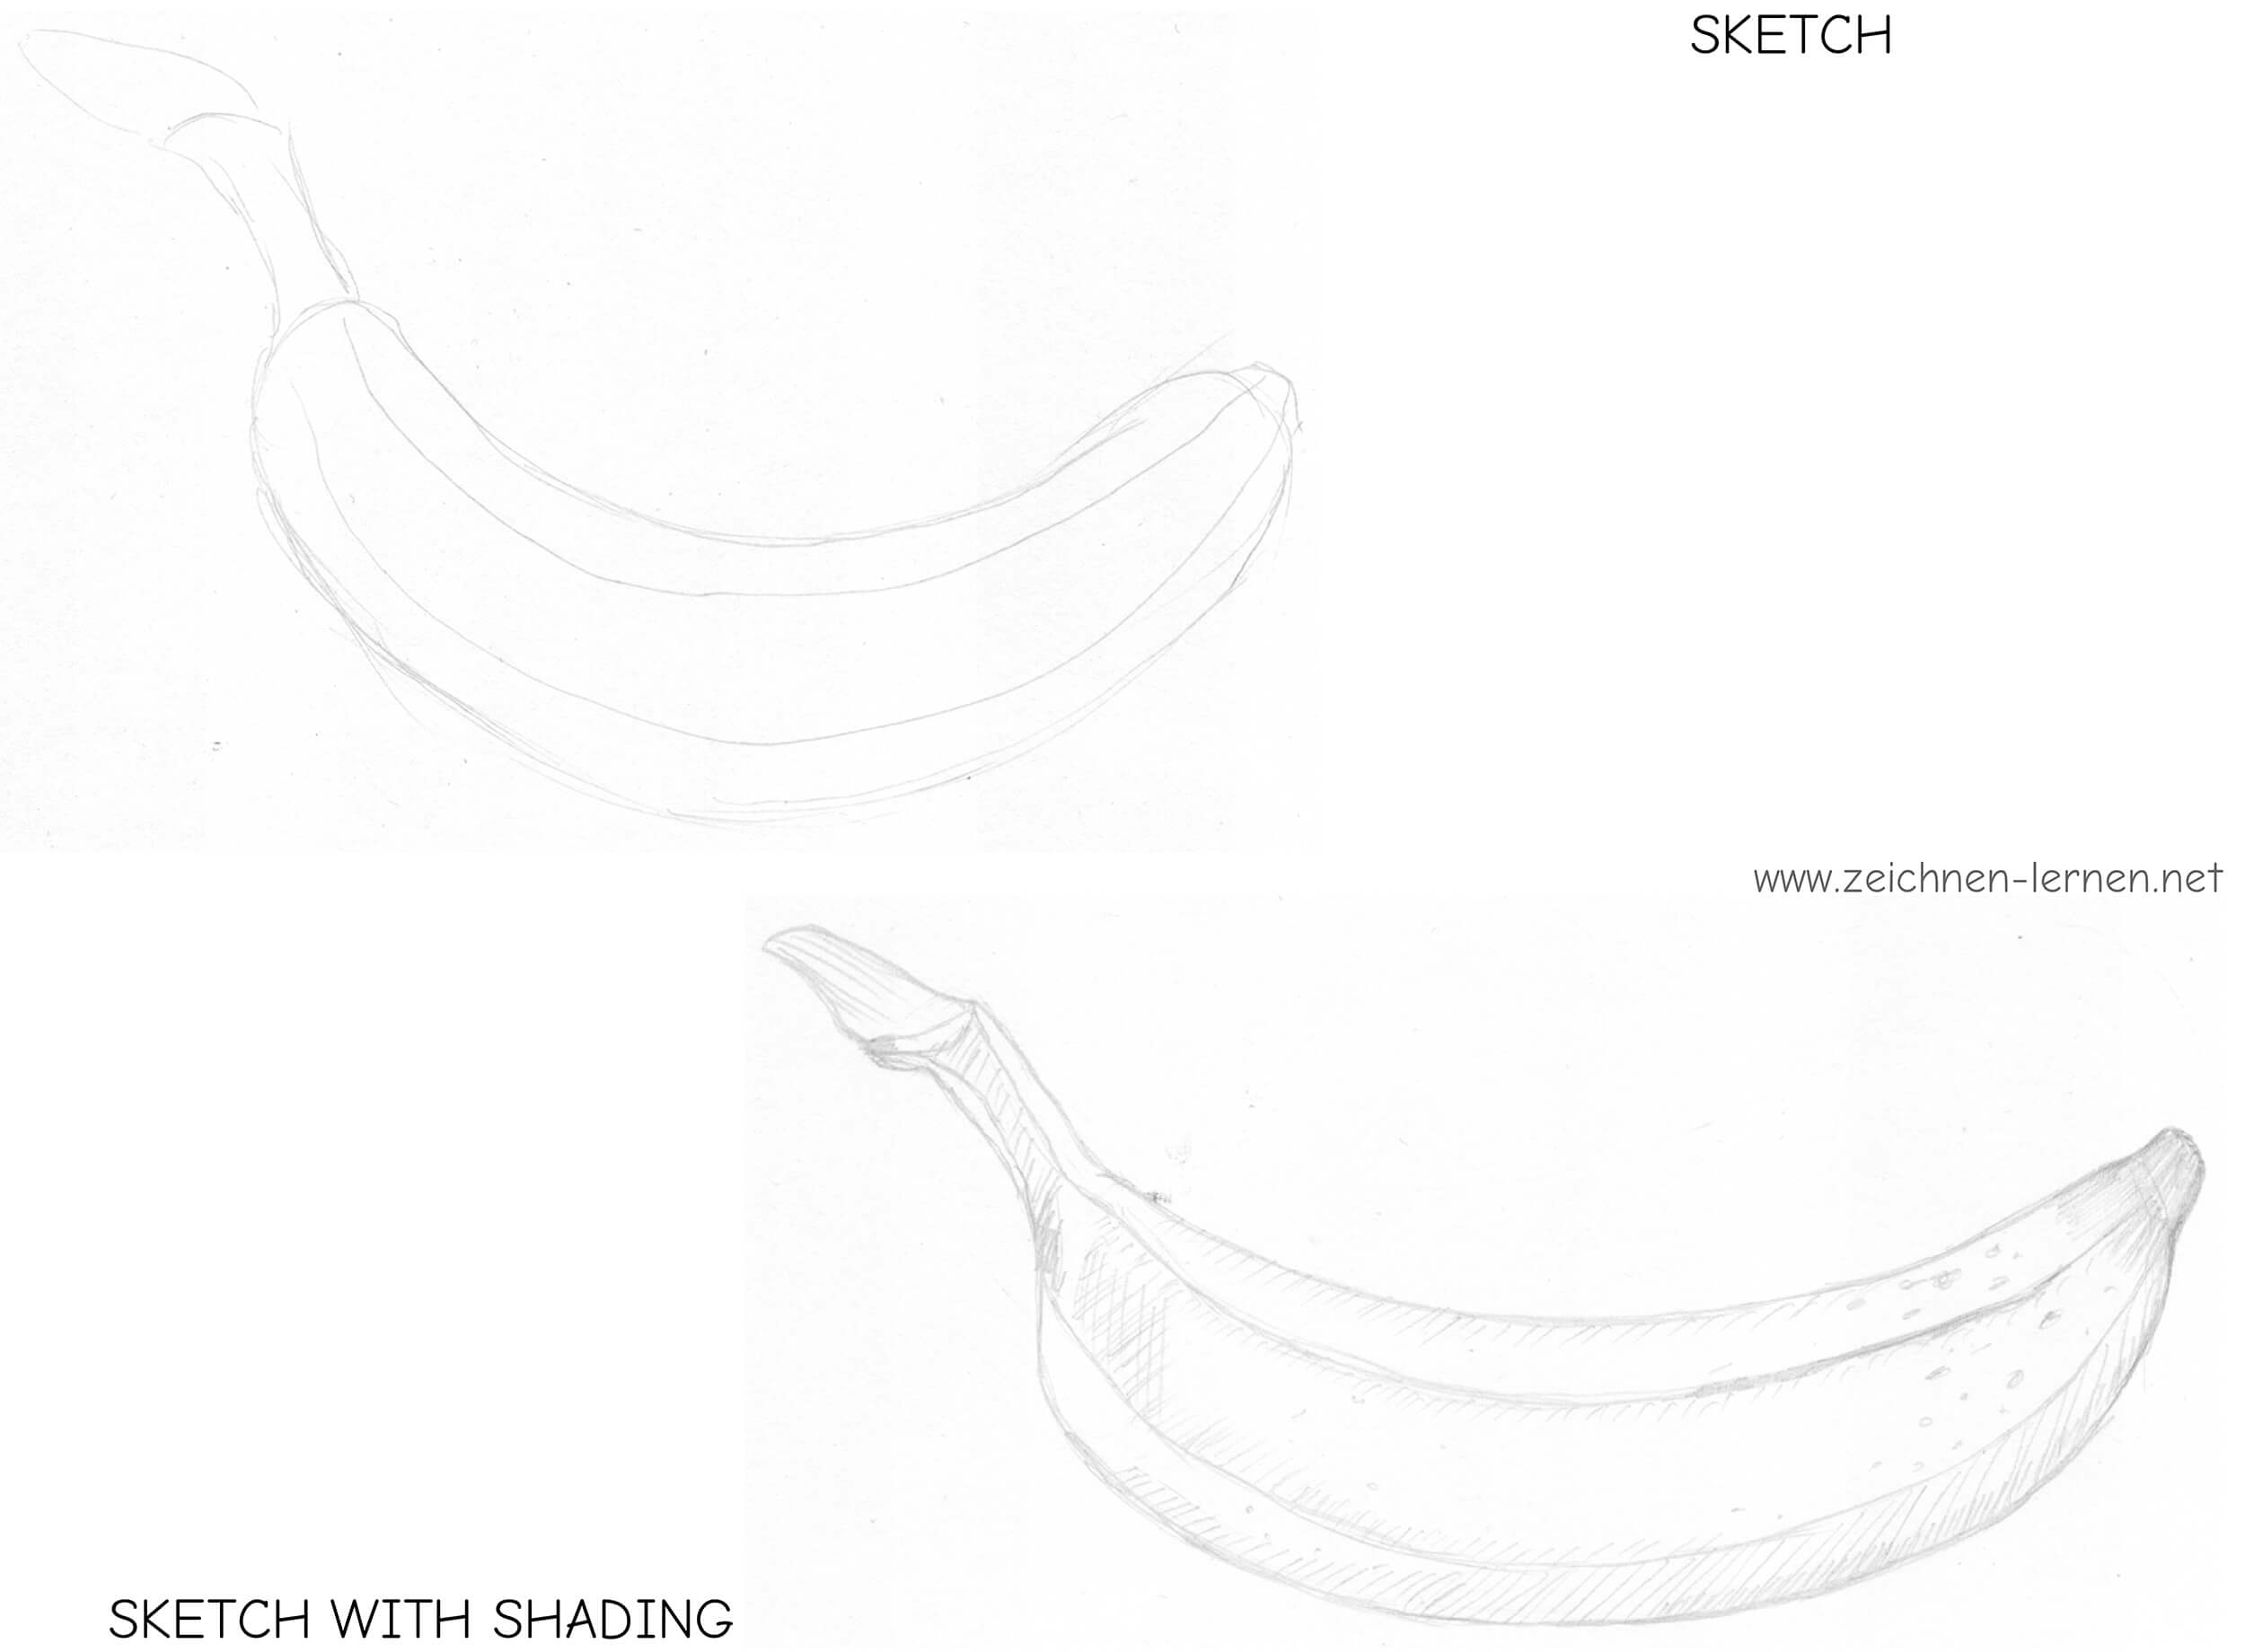
Quite a few artists, when faced with new subjects, immediately dive into all the details and shading in an effort to draw a picture that looks as realistic as possible as quickly as possible. However, it’s not uncommon for fundamental elements like perspective or clean outlines to fall by the wayside. That’s why you should start in a logical order and gradually build up your skills.
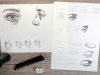
Regularly increasing the level of difficulty is definitely helpful for learning. An example of such a progression might look like this—using a portrait as an example:
Instead of starting right away with the entire head, including the face, hair, details, and shading, you first practice drawing only the eyes, nose, mouth, and ears. Once you’re confident with that, practice getting the correct head shape and placement of the facial features. Only then can you begin practicing hairstyles, and after that, you can work on drawing shading.
Another step up could be drawing from different perspectives and with distortions.
8. Learn to see like an artist (true vision)
To the untrained eye, this is just a photo of an apple. But the artist sees much more than that. What do you see as a beginner?

Anyone who draws regularly inevitably develops an eye for detail. But you can also train this skill specifically by becoming aware of everything you perceive and, consequently, what you can draw to make your drawing look realistic.
First of all, an apple isn’t perfectly round. So it would be wrong to simply draw a circle and add a stem on top. The apple’s shape tapers noticeably toward the bottom, and the indentation at the top—where the stem sits—is impossible to miss. Furthermore, the apple isn’t simply green. If you look more closely, you’ll notice the many light spots and darker areas, which alternate with highlights.
To give the apple a sense of stability in the space, don’t forget the drop shadow that has formed beneath it.
Anyone who also notices that the stem isn’t pointing straight up but is tilted toward the viewer has trained their eye properly (german). 😉
To discern so many details in a seemingly mundane subject like this apple requires a careful and patient eye. In everyday life, we tend to perceive things superficially and are usually distracted. But anyone who intends to draw something must observe what they see much more closely and expand upon it to capture its basic form, perspective, and details.
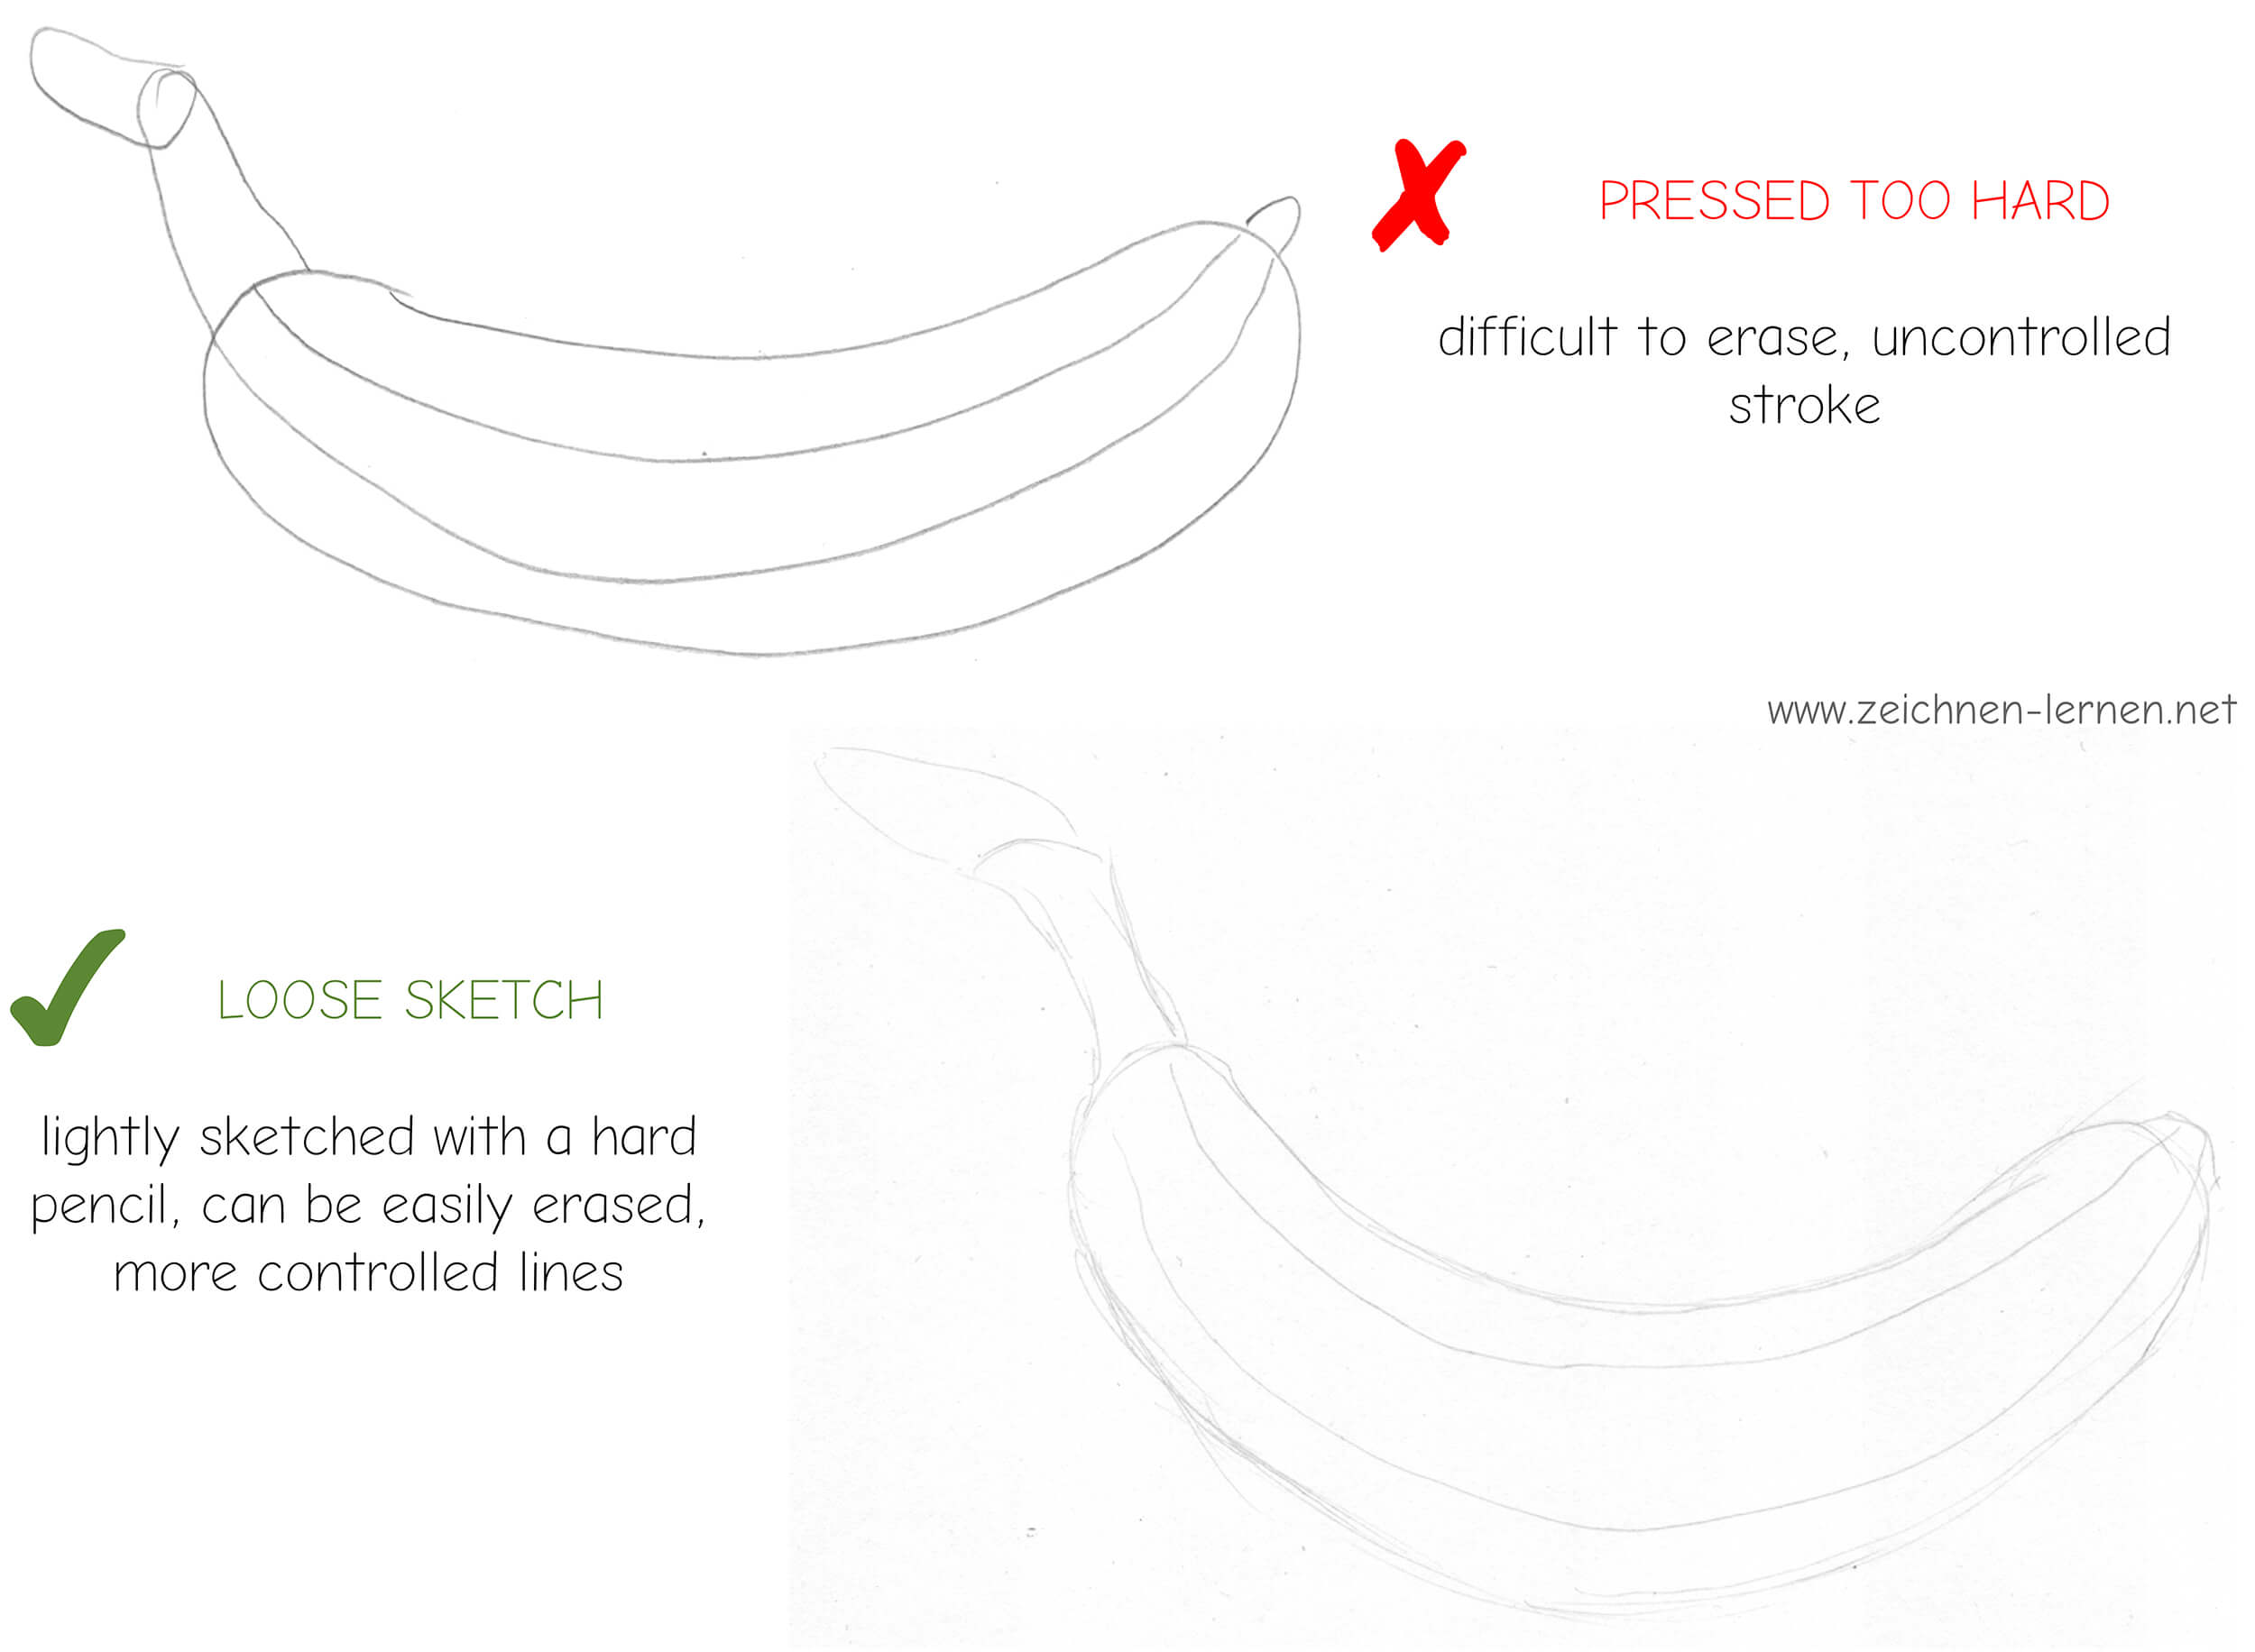
9. Contours that are too bold
Especially as a beginner, you tend to draw the outlines too heavily. Either you press too hard while drawing, or you draw several lines right next to each other. In this case, it’s helpful to do some relaxation exercises to practice drawing with a steady hand. In general, lines should be drawn loosely, lightly, and subtly at first. As you develop the sketch, you gradually increase the pressure.
To avoid applying too much pressure while drawing, it is important to hold the pencil correctly. See Tip No. 13 for more information.
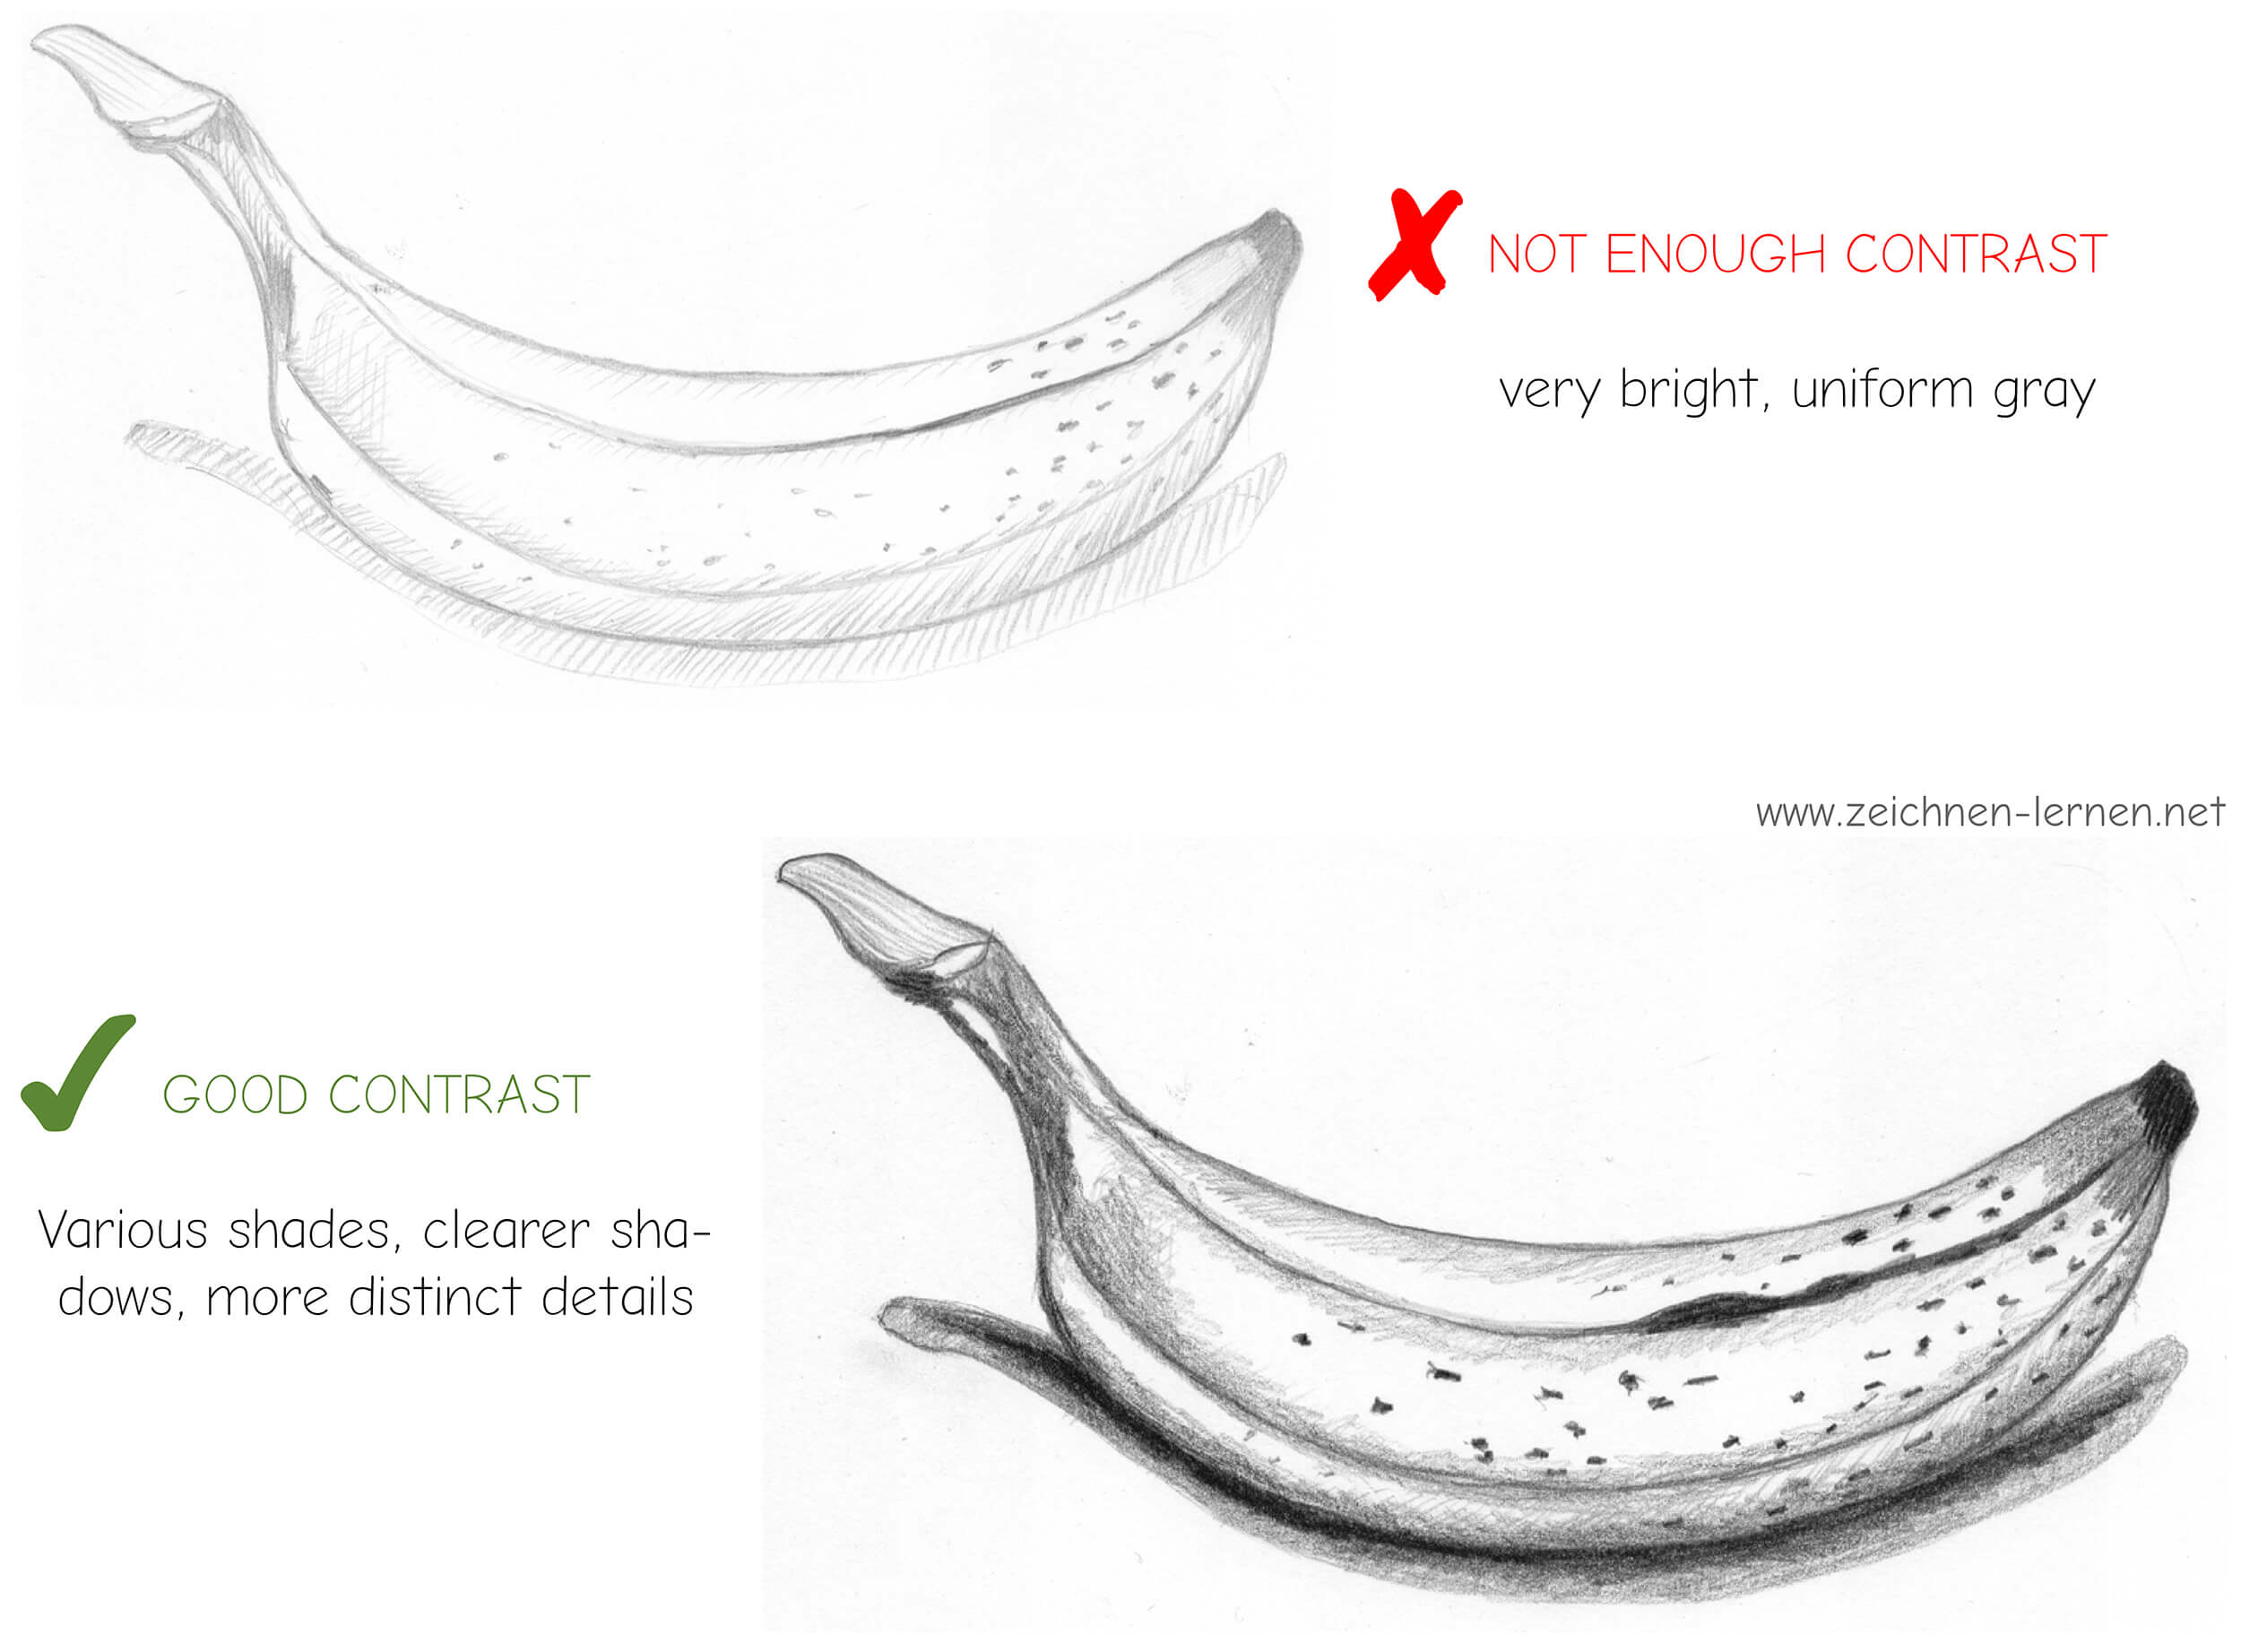
10. A classic beginner’s mistake: not enough contrast
Beginners, in particular, tend to be very hesitant when it comes to shading. While they do apply shadows over large areas, the gradations are usually missing, resulting in a uniform gray. Greater contrast brings more variety and depth to the image. Here, you should definitely feel free to make areas that are clearly in shadow truly dark.
11. The Thing About Erasing
Especially those who are just starting to draw and have a clear image in their mind’s eye tend to erase too quickly and too much. You also have to be able to let lines stand as they are, especially when your current skills aren’t sufficient to improve them. Here, the call to action applies once again: Have the courage to allow for mistakes!
Problems with erasing usually arise when you’ve pressed too hard while drawing your lines or used a pencil that’s too soft. Beginners typically draw with HB pencils, which have a medium hardness and, depending on the brand, can actually be quite soft and dark. Sketches and preliminary drawings are best done with F-grade pencils, or even better with hardness grades from the H series (for beginners, low H values such as H, H2, and H3 are sufficient—up to a maximum of H4) .
Unfortunately, softer pencils or firm lines can leave dark marks—or, in the worst case, indentations—in the paper. Knead erasers can help lighten dark lines.
Another problem when erasing is creased paper. The types of paper commonly found in the home (printer paper, notebook paper) are only 80 g/m², so they are very thin and can crease more easily. Most drawing papers for hobbyists and students are only slightly thicker (90–110 g/m²). Particularly sturdy papers are those with a basis weight well over 110 g/m². These are significantly more expensive than standard printer paper, but they are worth the investment because they offer a completely different feel when drawing.
12. Don’t compare yourself to others
Role models who seem (supposedly) out of reach can be a major motivation killer. In general, it’s good to look for role models you admire, who can inspire you, and whom you might even want to emulate.
However, especially when you’re just starting out, you should remember that even role models didn’t learn to draw well overnight. Even the artists you admire sometimes took years to hone their skills and acquire knowledge and experience.
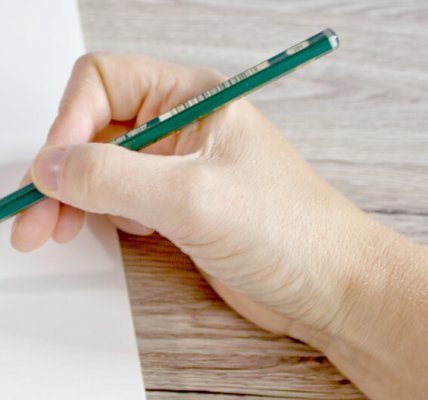
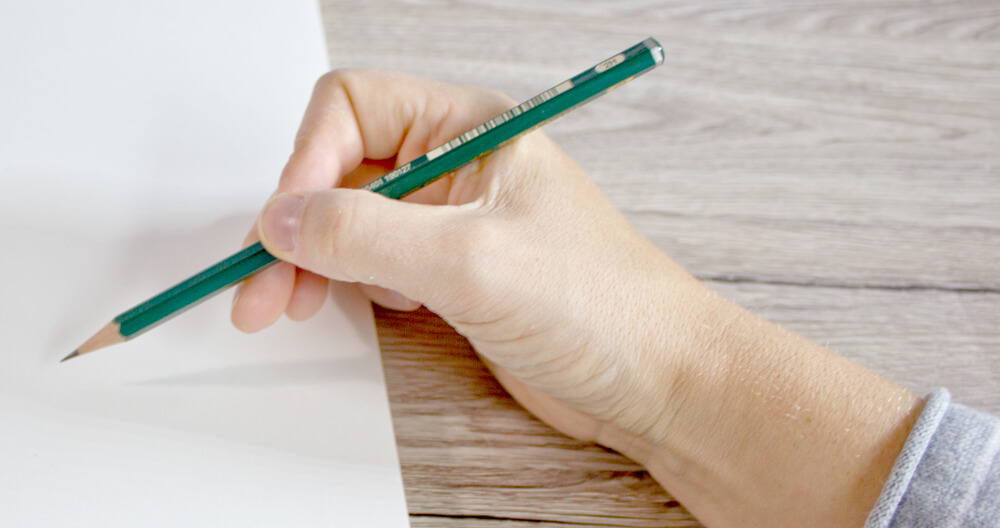
13. Drawing without hand pain
For years, my hand would cramp up while I was drawing, and it really hurt. This was partly due to the pressure I put on myself to perform well, but mainly because I wasn’t holding the pencil correctly.
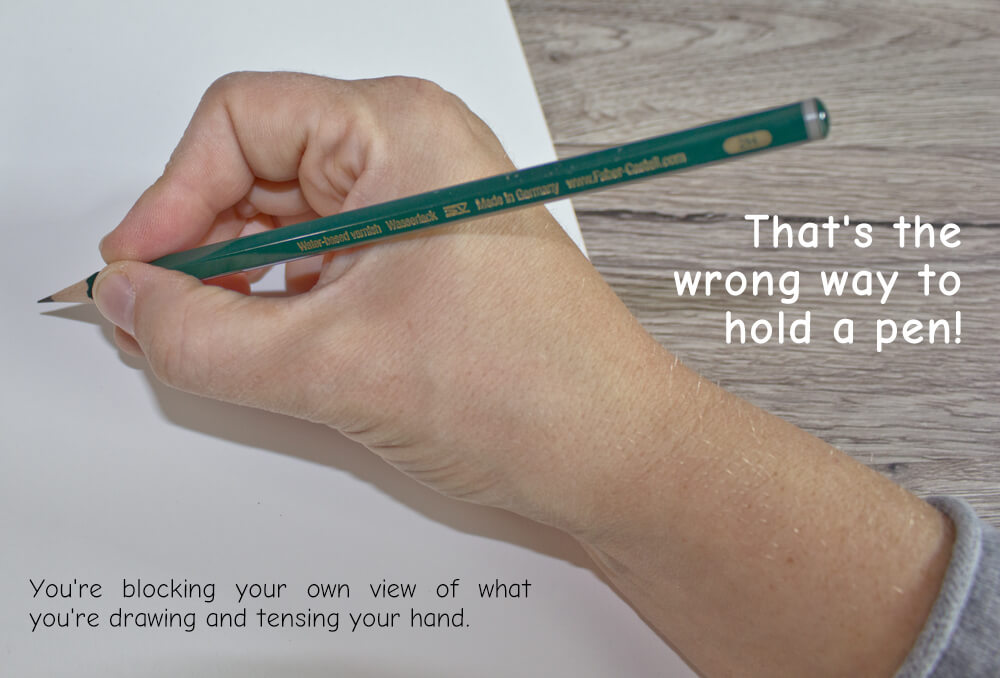
When using writing instruments (fountain pens, ballpoint pens), we’re used to holding the pen as low as possible, close to the paper. The pressure we apply to the pen—and thus to the paper—is significantly greater than when we hold the pen higher up. Logically, this causes our hand to ache more quickly.
Another drawback of holding the pencil at the bottom of the shaft is that you block your own view of the paper. As a result, it was not uncommon for students to hunch over the paper to see past the pencil. This also contributes to back pain and poor posture.
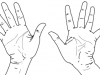
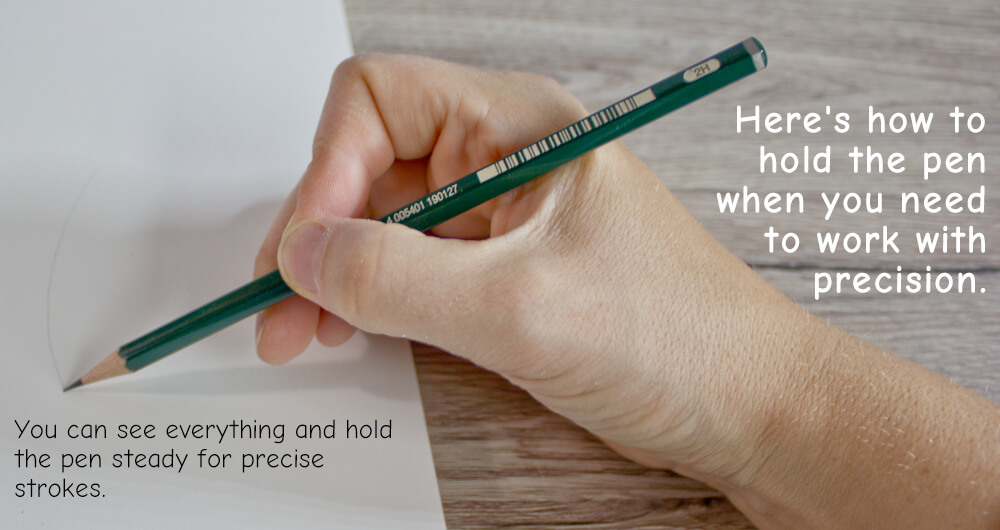
Ideally, the pen should rest loosely in your hand, with your hand covering the entire length of the pen. Your thumb and index finger should not be at the same level on the pen; instead, your thumb should rest slightly higher up. However, for a bit more precision when drawing, your thumb and index finger can come closer together.

To avoid smudging your drawing with your hand, you can place a piece of paper underneath it or use a special drawing glove*.
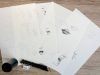
14. Don’t throw anything away!
Last but not least, here’s a crucial tip for beginners: Keep all your sketches and drawings — you must NOT throw ANYTHING away (german). Only by looking back at older images can you see your own progress. Additionally, older drawings can be a great source of ideas (german).
The challenge of redrawing an older picture every few years to see how your skills have improved over time is also a popular practice that you can see quite often on social media.
Extra Tips from Other Artists
I asked a few other artists what tips they would give to beginners:
- Use reference photos, even as a beginner—drawing subjects entirely from memory slows down your artistic development considerably.
- Tracing is perfectly fine, especially when you’re starting out—it trains your fine motor skills and your sense of form, and it also helps you recognize which lines are essential to a subject and which ones you can leave out.
- Acknowledge your mistakes—just put the eraser down for a moment and keep drawing anyway.
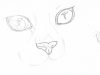
In other words, here’s a tip: Draw the nose, eyes, etc., more often (with light strokes). You’ll automatically recognize which lines are correct because you’ve seen people so many times. Then trace those lines with thicker strokes. Instead of trying to get it “perfect” the first time and starting over on a new sheet of paper, just sketch lightly several times and then highlight the correct lines.
This page as a PDF
Download this page as a PDF document! For teachers, students, and knowledge seekers. 😉
PDF: Learn to Draw – Tips for Beginners (Download)