Learning to draw a head and face
Most people want to learn how to draw head and face. On this page you will learn some basic tips and tricks for drawing human faces.
Drawing the head and head shape
The basic shape of the head is an oval sphere with a longitudinal line and a few transverse lines to divide up the proportions of the face. You can see that the ears are in line with the eyes at the top. Whereas at the bottom, the ears end at the height of the nose.

The transverse axis and longitudinal axis can also be used to divide the angle of the head and face very well.

The best way to do this is to start with a narrow oval shape and draw the chin, forehead and nose in this shape. More experienced artists can start with the chin, nose and forehead and then continue drawing the head in an oval shape towards the back.
Drawing the head and face
Drawing the head and face usually belongs together. The easiest way is to roughly divide up the face so that you know exactly where the eyes, nose, mouth and ears are. Here you can see an example of this division from the front, from the side and slightly to the side.
The central axis, see above, divides the face into a left and a right half. The two halves of the face are not identical. If a face were mirrored, it would look strange to us. The asymmetry is caused by growth, ageing and life experience (e.g. scars), but also blemishes such as moles and wrinkles.
The ears are at eyebrow level at the top and at the tip of the nose at the bottom. The forehead and chin are roughly the same length, although there are of course individual differences from person to person.

Viewed from the side, you can see even better that the ears extend from the height of the eyebrows to the tip of the nose. This also shows that the nose protrudes from the face. Eyes and mouth are roughly in line, alternated by curves around the mouth and on the bridge of the nose and where the eyebrows form a curve to better protect the eyes (or in other words; the eyes lie in a small depression).
Behind the ear is the back of the head, which is usually covered with hair.

And since a face is rarely shown directly from the side, but looks much more interesting when it is shown slightly from the side, I will also show a slightly sideways face in the example here.
Here, the longitudinal axis is set at a slight angle to the angle at which the head is shown. The vertical guidelines for the eyes, nose and mouth are aligned with this line.

The ears
Although the ears are usually not visible due to the hair, they are indispensable in a short hairstyle. The upper part is about the same height as the eyes, the lower part about the same as the tip of the nose. They are generally angled towards the face.
I’ll show you how you can depict ears in different views to make your drawings look more realistic.

More about drawing ears:
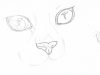
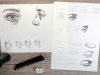
The eyes
I’ll show you how to draw eyes from the front, from the side and in profile so that they look natural depending on the perspective.

The eyes are the most important and exciting element of the face. They are considered a mirror to the soul and can show emotions very subtly, but also very clearly.
More about drawing eyes:
The nose
Drawing the nose defines the character of a face and is also easy to draw. Whether large, small, long or short: the nose reveals a lot about its owner. The tip and wings of the nose are the most memorable elements of a nose.

However, the bridge of the nose can have a hump, e.g. due to a fracture. You can tell a lot from a nose, noses have character – they are the most striking and therefore most important element of the face.
More about drawing a nose:
The mouth
I’ll explain how you can set up a mouth correctly from the front, from the side and in profile.

More about drawing a mouth:
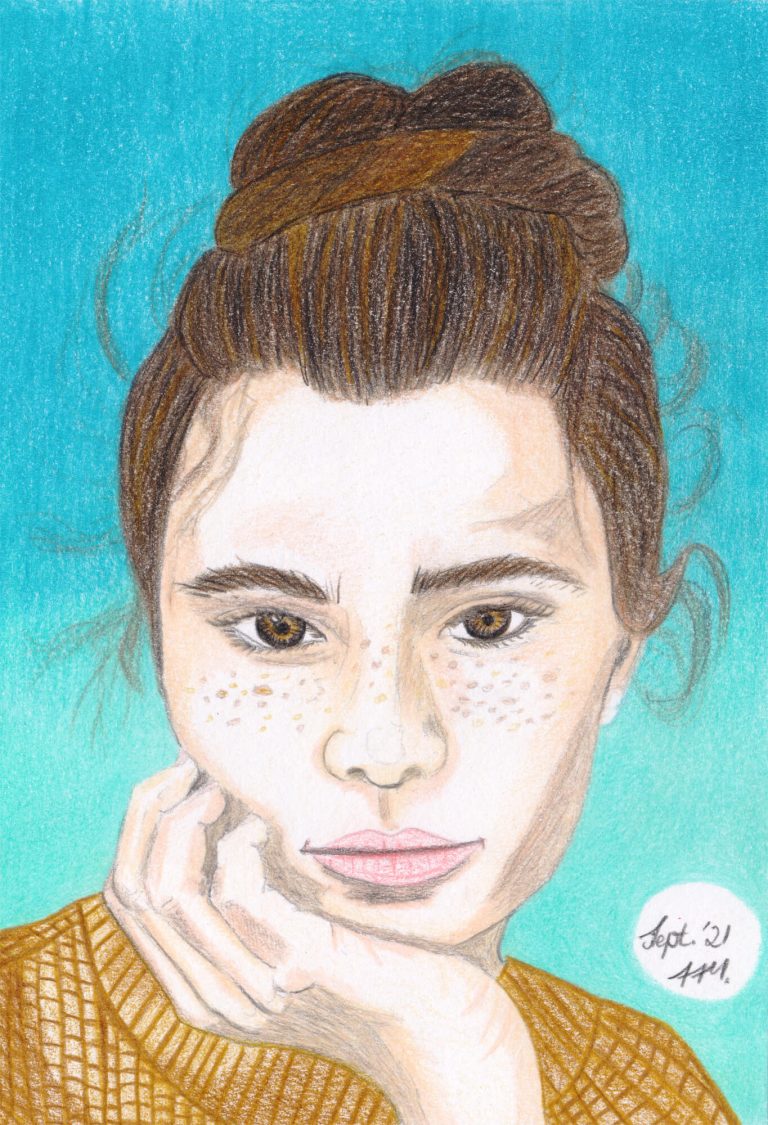
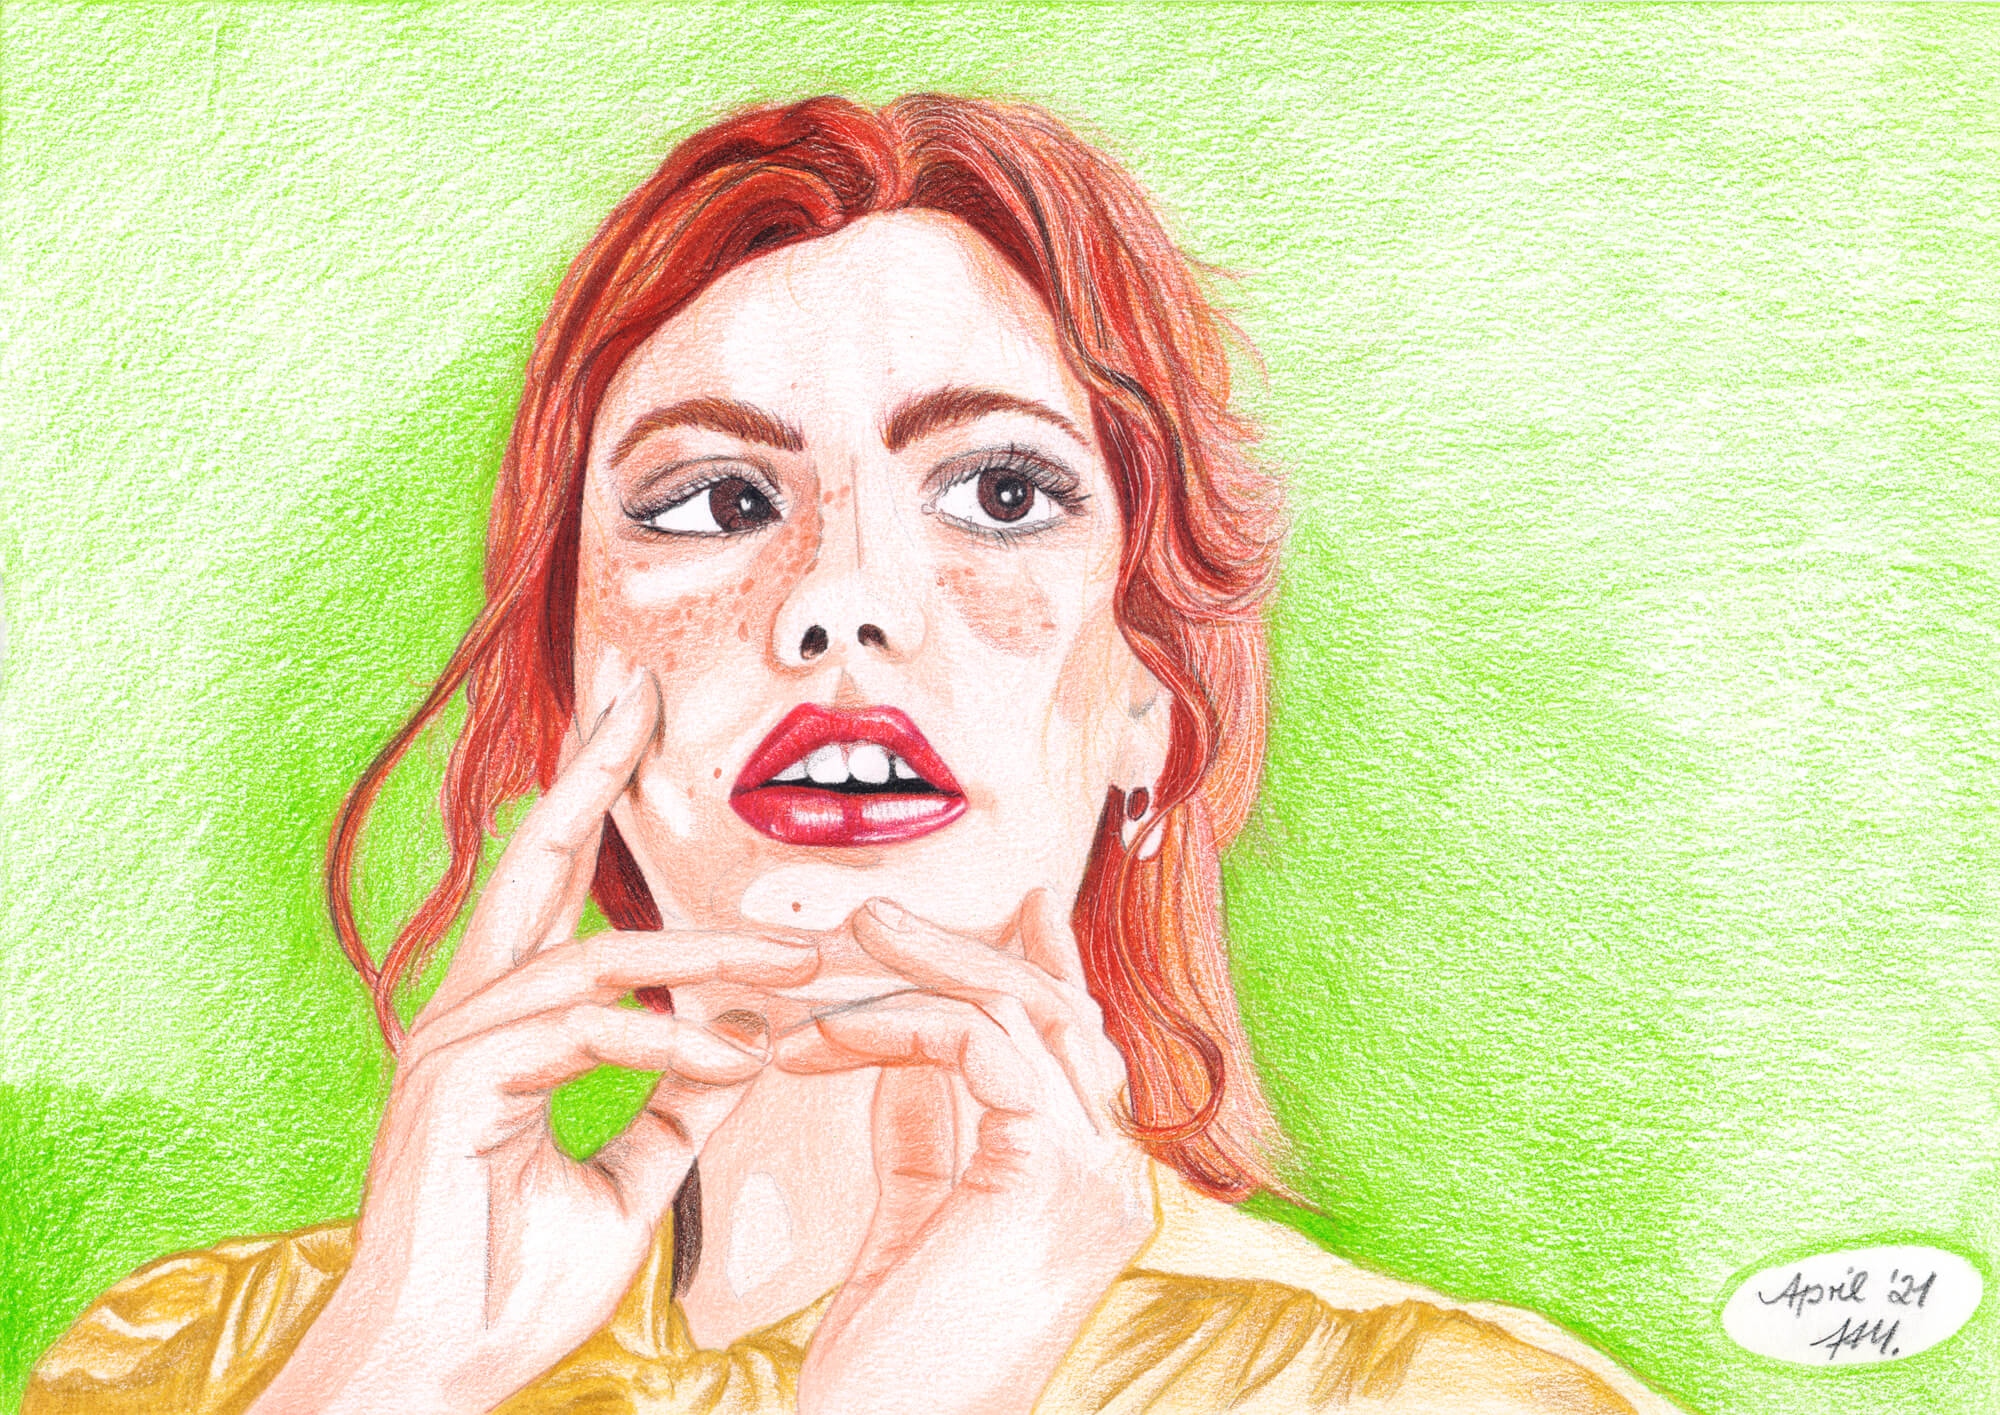
Drawing portraits – tips and tricks
Here you will find some tips and tricks on how to learn how to draw portraits. In my blog article Blending and shading with pencil (German blog) you will also find explanations of various pencil techniques and their advantages and disadvantages.
How to start
The shape and distribution of eyes, nose, mouth and ears can be defined in advance in the basic sketch using an oval and longitudinal and transverse lines (see also tips at the top of this page). Additional divisions can be made using a grid. In general, these auxiliary lines should not be drawn too thickly so that you don’t have any problems removing them afterwards.
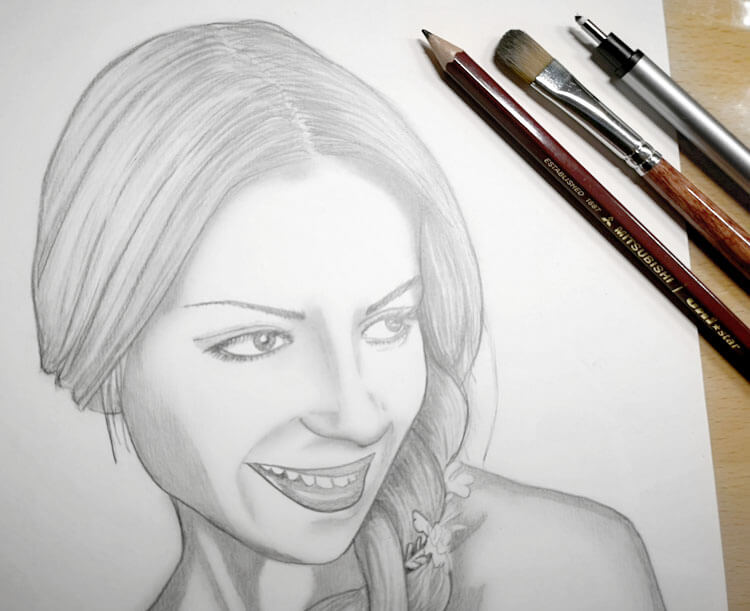
Feeling your way step by step
Once you have created your rough outline using guidelines, you can work your way up step by step. Whether you start with the eyes, the nose or the mouth is up to you. There are no clear rules for a sequence.
Experienced draughtsmen usually proceed according to habit or tend to start with the nose and eyes, as this already makes up a large part of the face and also has the strongest influence on a face.
Head and face: too old or too young?
It is always said that draughtsmen/painters tend to make you look younger than you really are (by omitting wrinkles or drawing them too timidly), but this can also be the opposite. Therefore, you should avoid drawing too many wrinkles and not emphasize them too much.
A person or body (part) can quickly look too young, but can also quickly look too old. Finding the right balance is not so easy. But it is easier to make a young person look older than the other way round.

Drawing self-portraits and self-portraits
Mirrors are often used as an aid for self-portraits – although the frontal view from the front is not exactly favorable.
A side view, as in a photo, is much easier to draw. It is generally easier to draw from a photo first. Living originals always have the stupid habit of changing their position, moving, contorting their face, etc. It’s certainly not easy to keep still all the time, but for a draughtsman who doesn’t have that much experience, it’s of course all the more difficult. In addition, it is much easier to depict constant lighting from a photo than constantly changing shading, which also emphasizes the facial features to varying degrees.
Drawing others is hard enough, drawing yourself in a mirror is even harder. Mirrors also have the disadvantage that you always look into them differently – a photo doesn’t change.
If you have more experience in drawing portraits, you should not necessarily draw your own reflection as the first “living” object, but rather a friend or relative. They will at least try to move as little as possible – the differences are therefore smaller than with a mirror image.
Further Pages
From the German Blog
- Drawing Animals Realistically – Basics (Elena)
- Blending and Shading with Pencil
- Drawing Technique: Learning to Draw with a Grid