Shading & Hatching
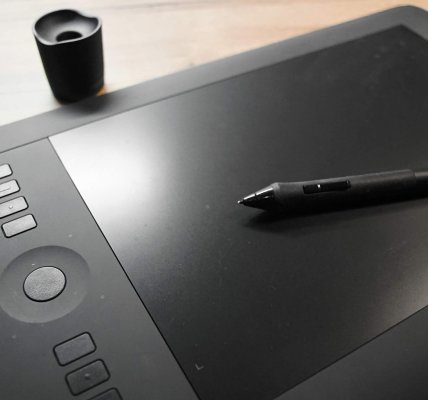
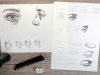
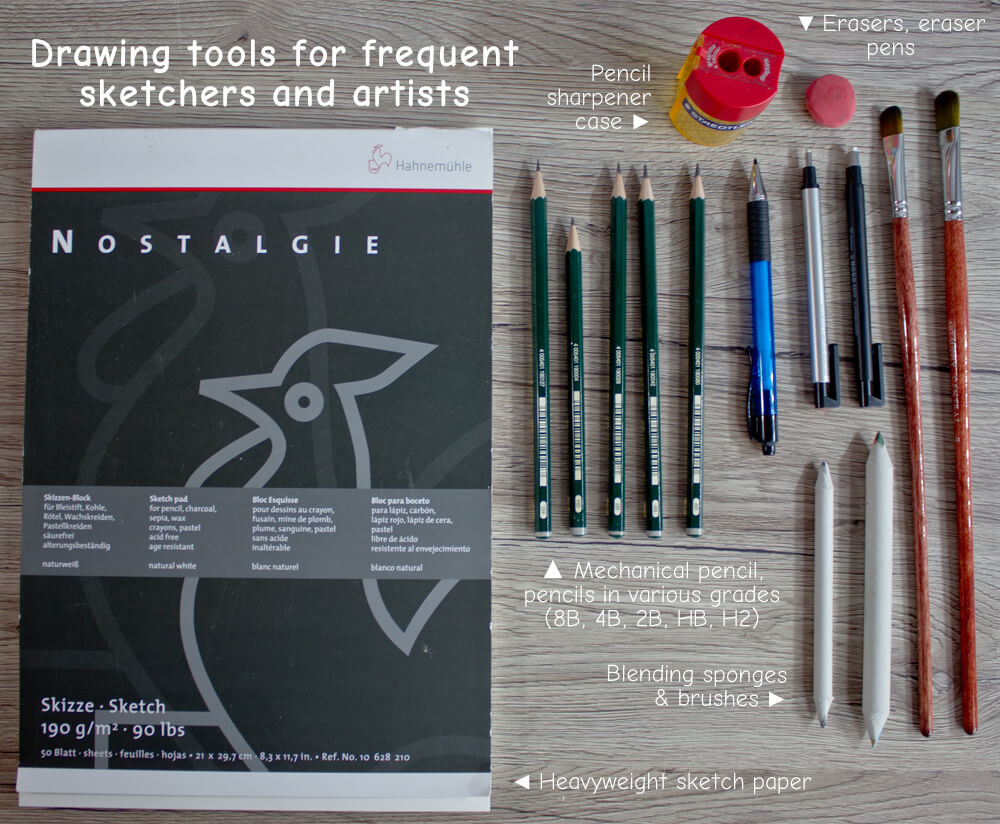
In this article, I’ll explain the basics of shading and hatching. The best tool for practicing these techniques is a pencil, since it can be used for both hatching and blending. If you want to focus specifically on hatching, it’s best to practice with a medium that doesn’t smudge, such as a ballpoint pen.
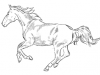
Light and Shadow
Without light, there is no shadow. And by looking at the direction of the shadow, it is very easy to tell where the light source is coming from. You can use this knowledge to strategically place shadows in your image.
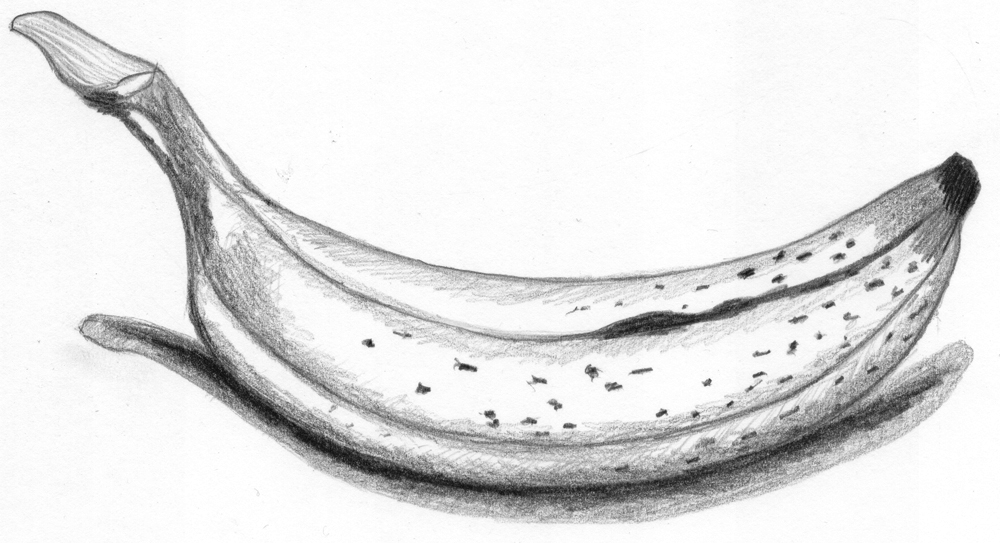
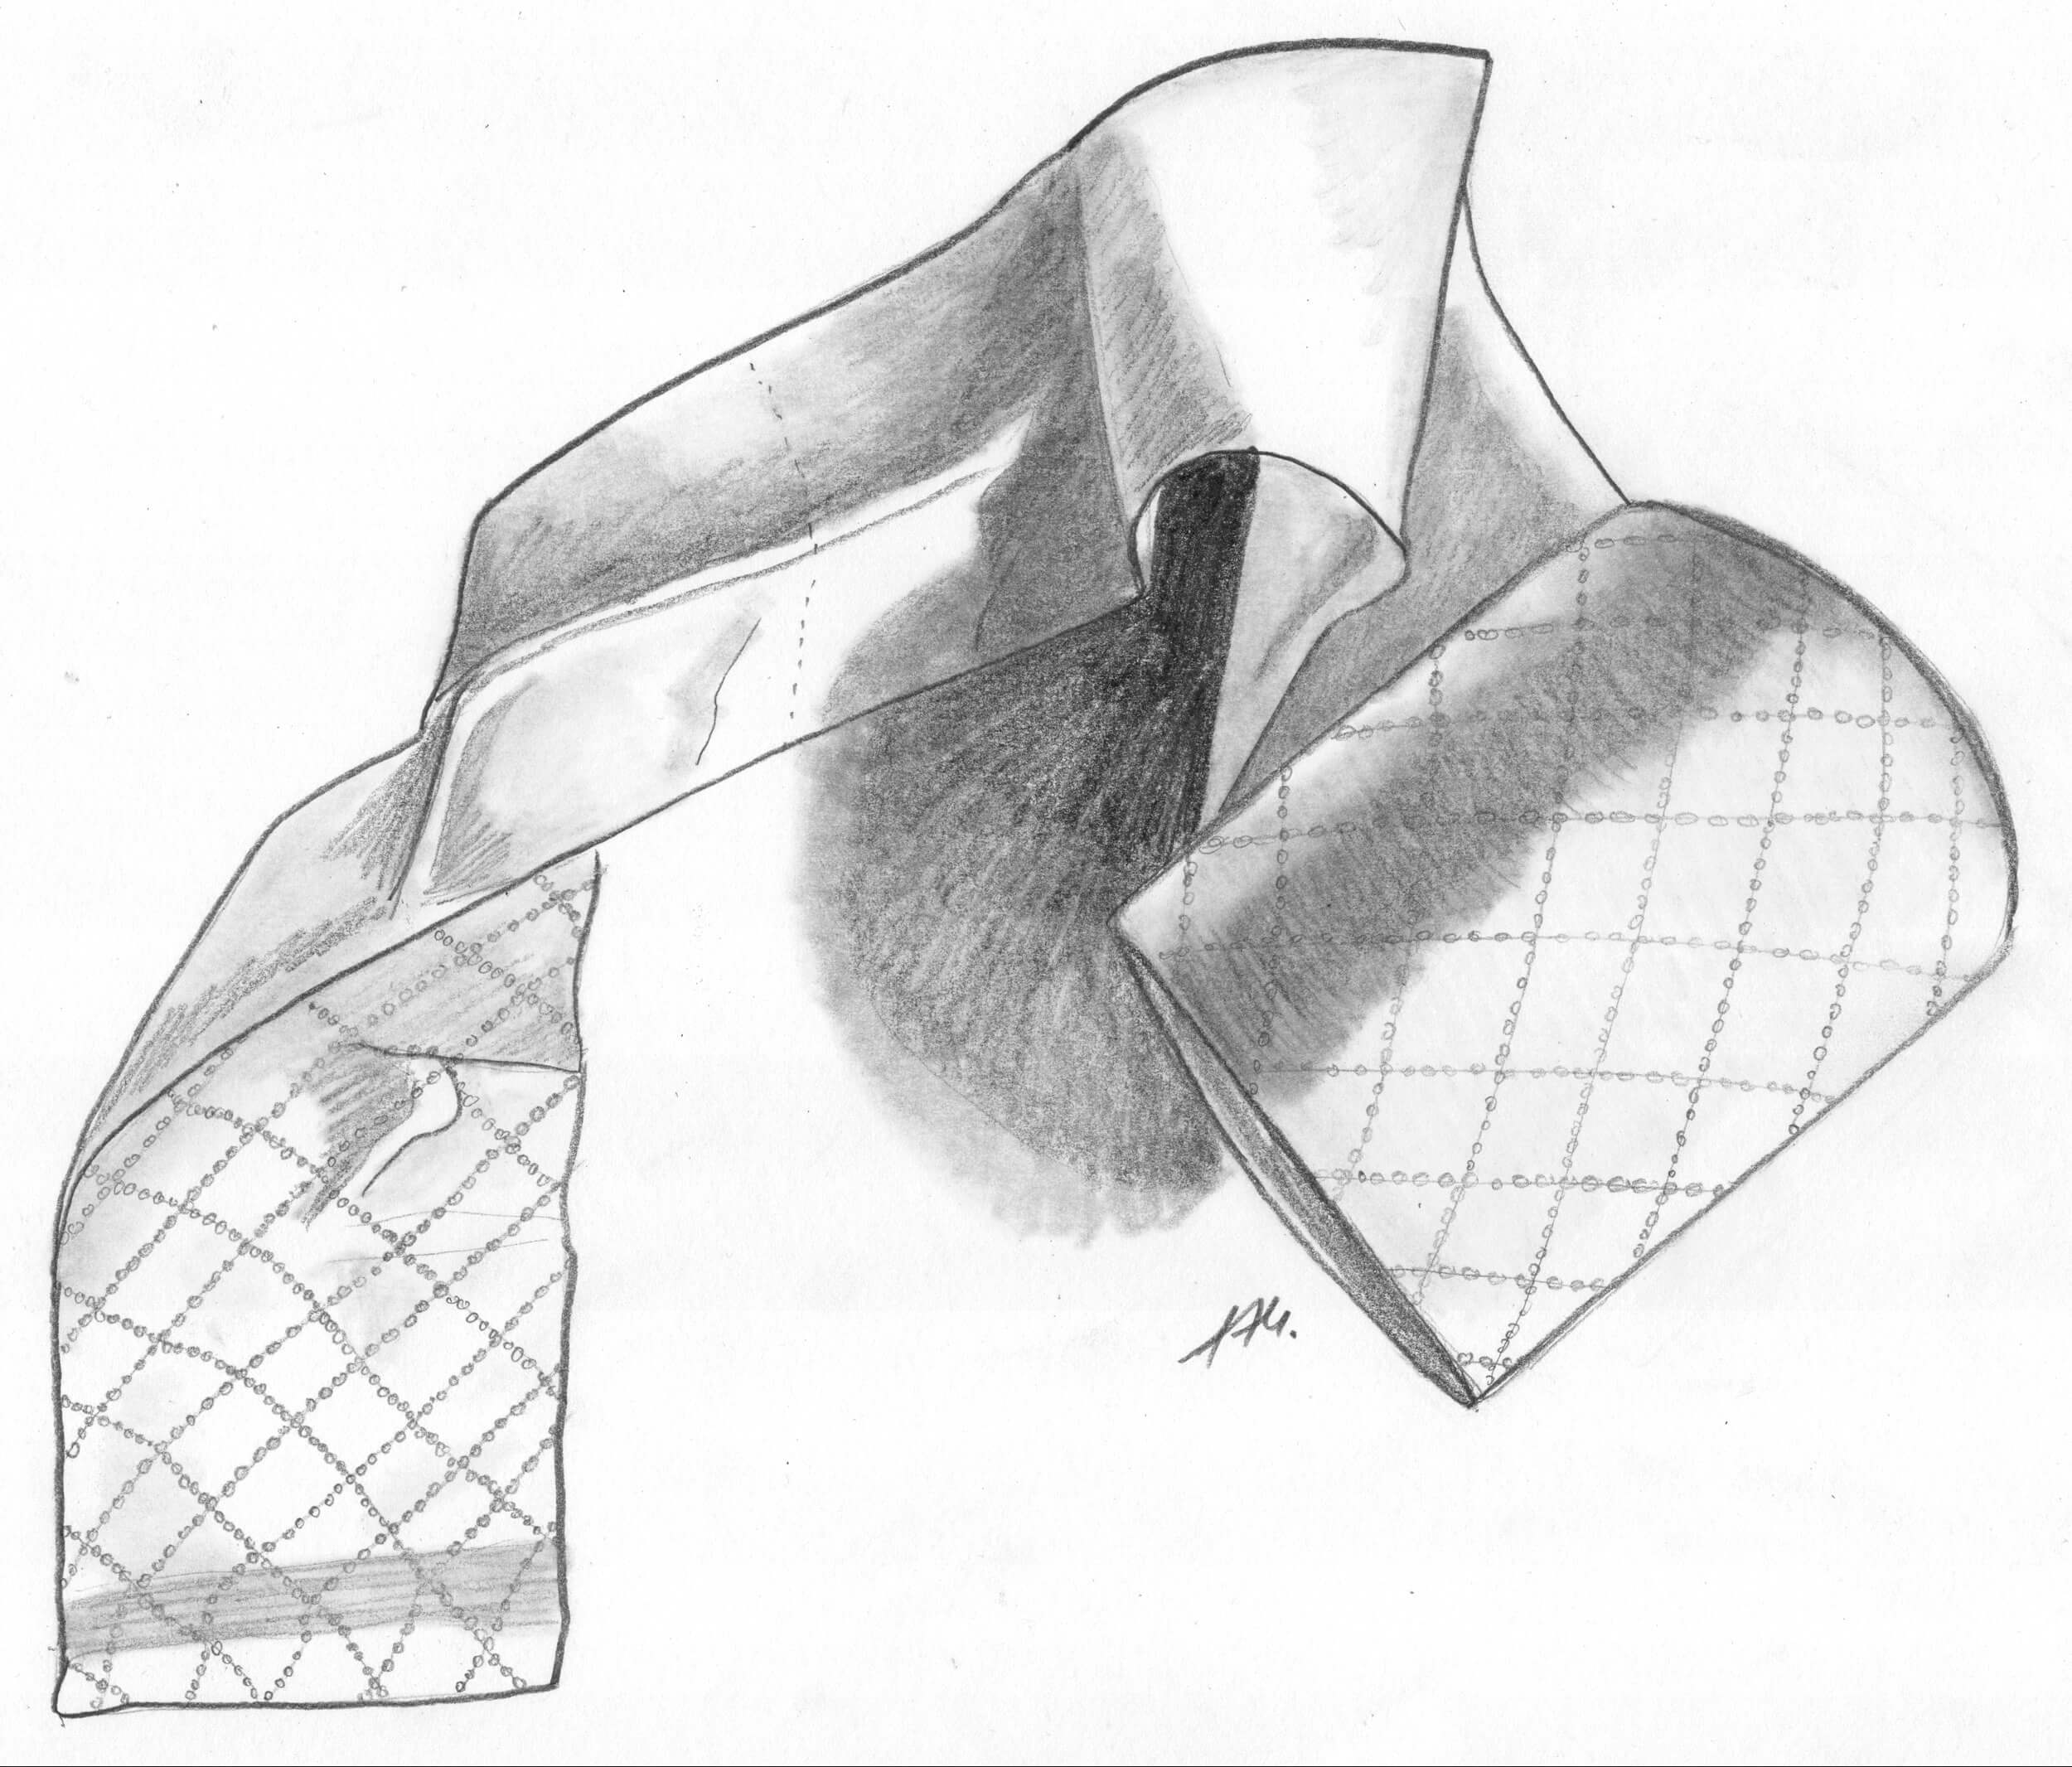
The interplay of light and shadow is particularly evident in folds. On the topic of drawing folds, you’ll find some photo references to trace.
Shading
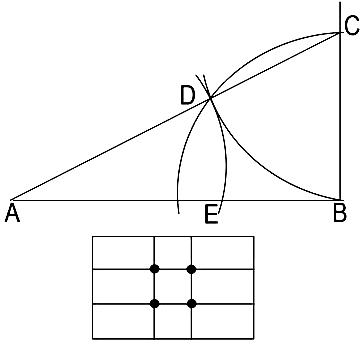
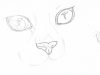
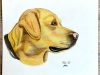
It is shading that truly makes an object appear three-dimensional. When light comes from a single source—for example, from the back left—the object takes on a three-dimensional appearance. However, it is still not possible to tell where in the room it is located.
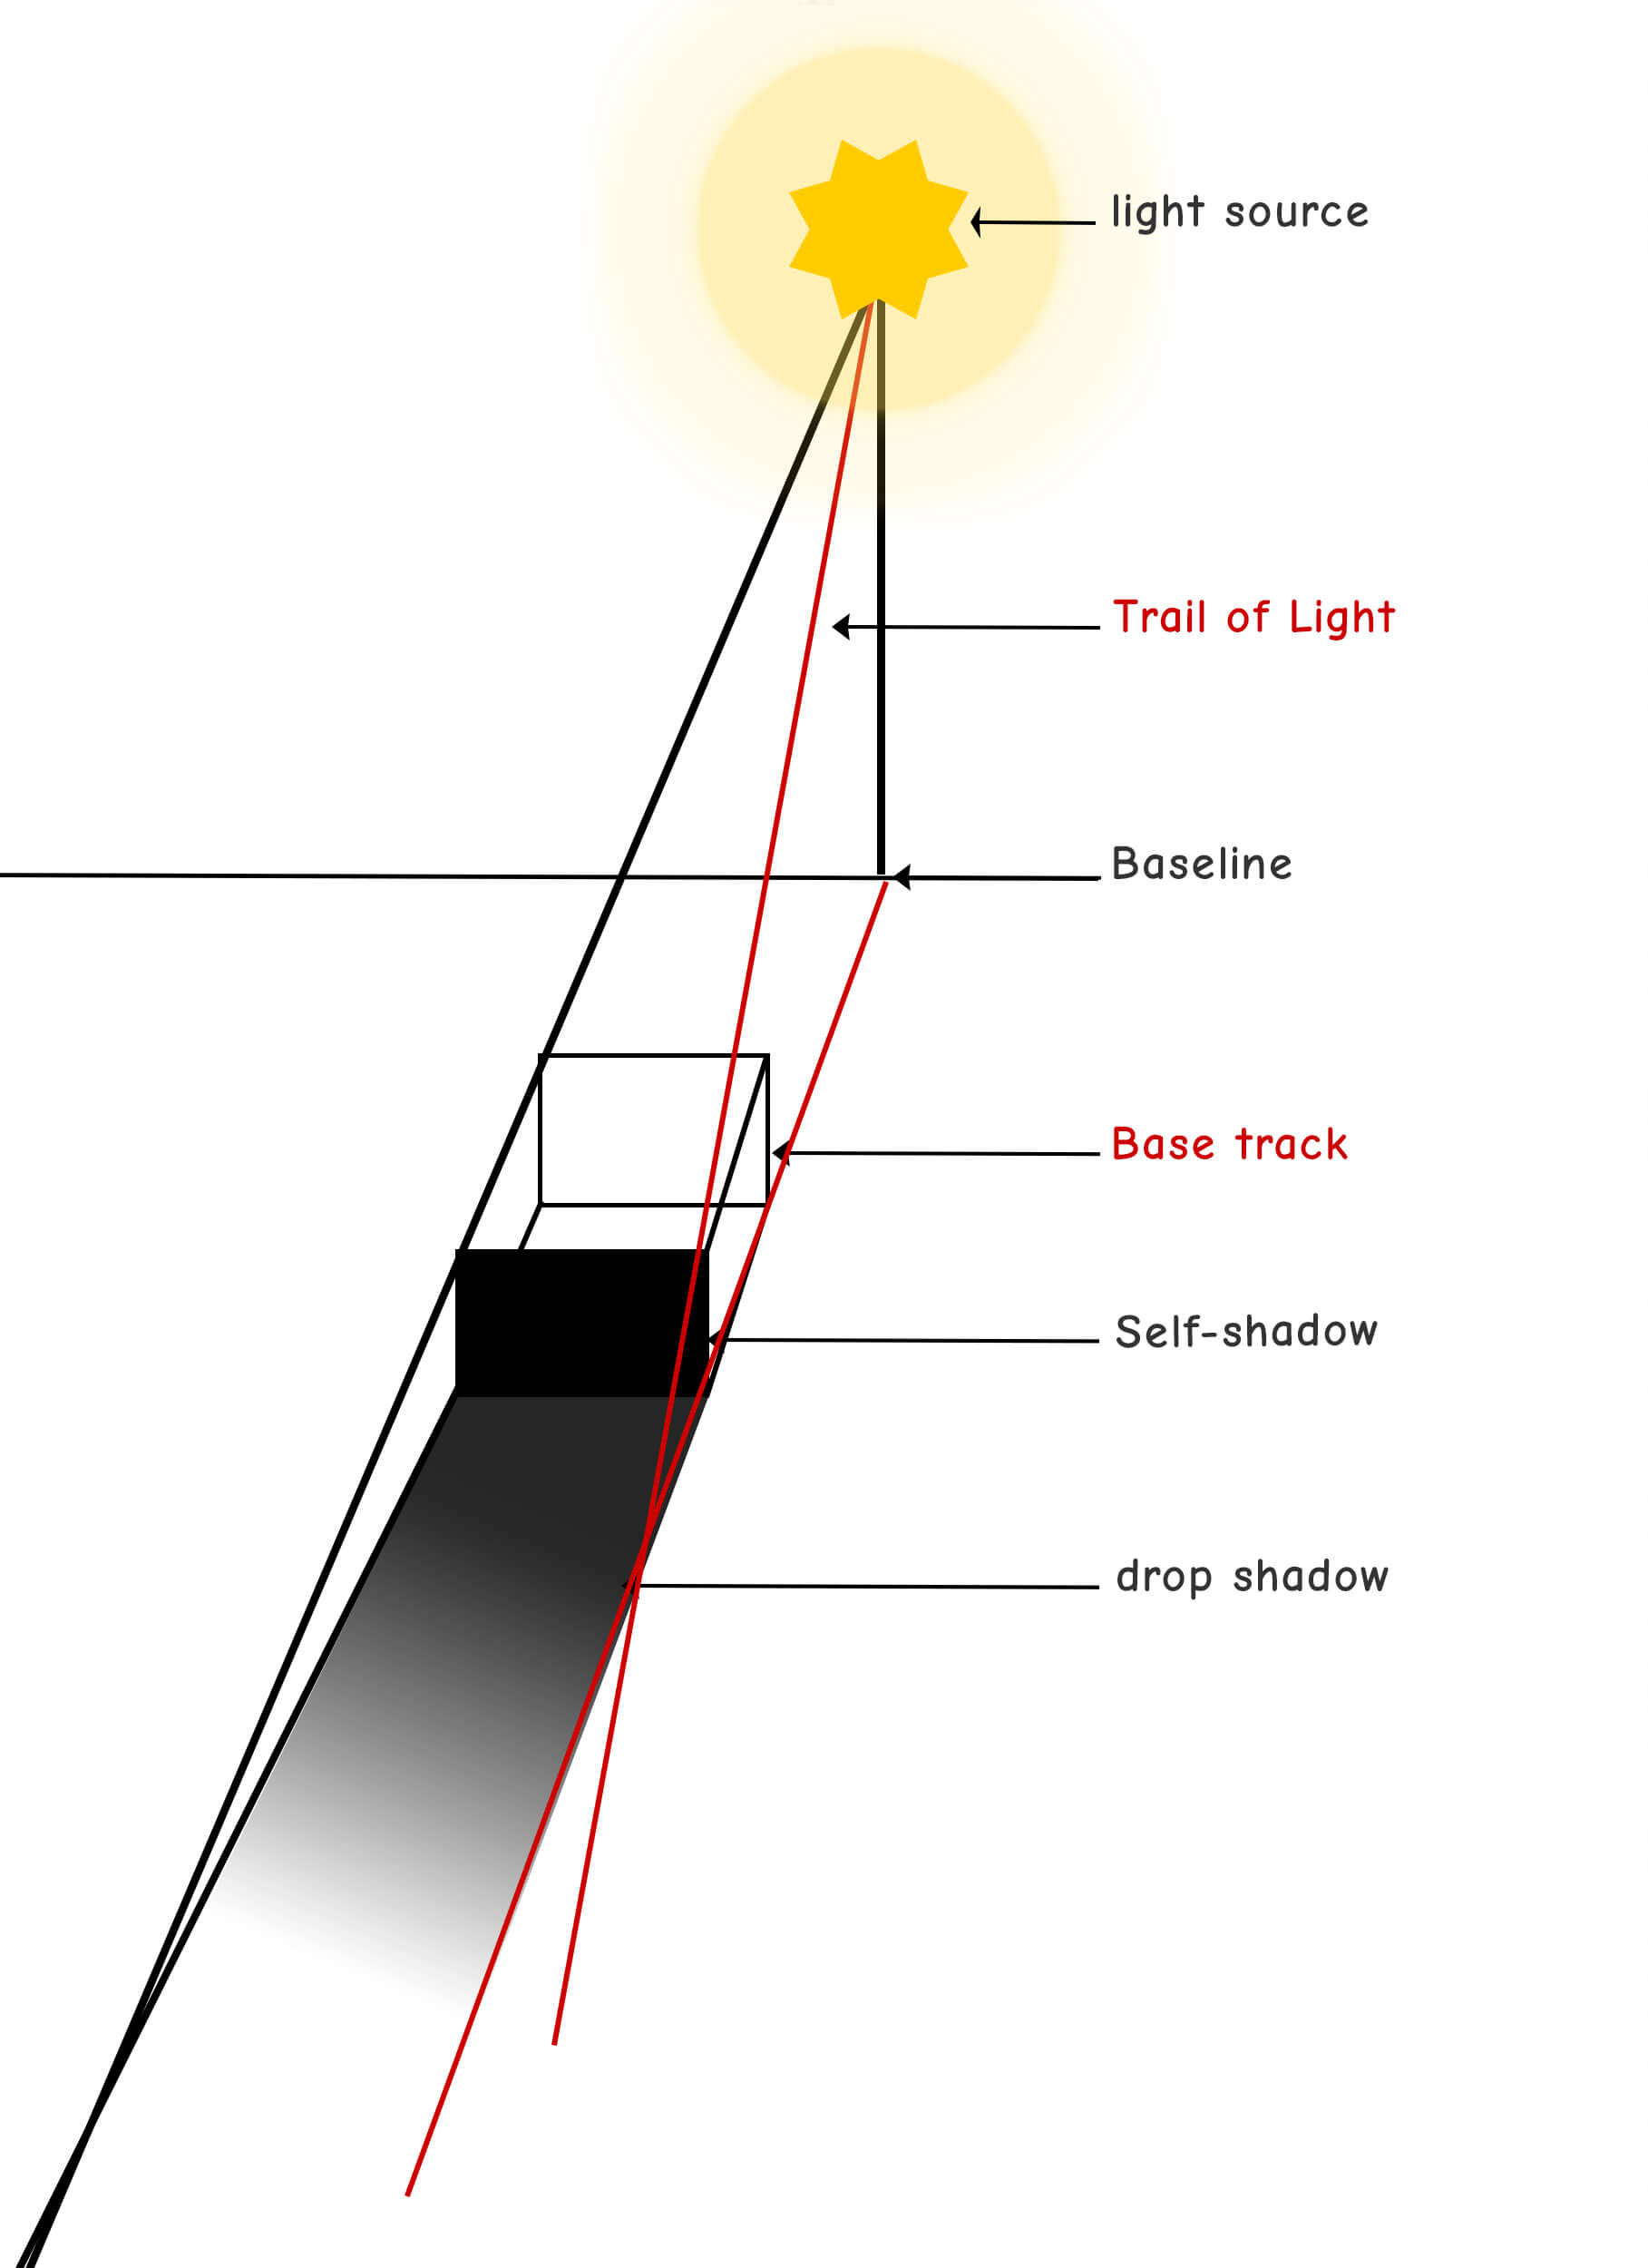
To illustrate this, let’s add a cast shadow. It’s also important to remember that the self-shadow—or object shadow—is always lighter than the cast shadow. You must also consider which side the light source is on.
For example, if the light source is on the left, the drop shadow (opposite) will be on the right side of the floor.
Different Types of Shadows
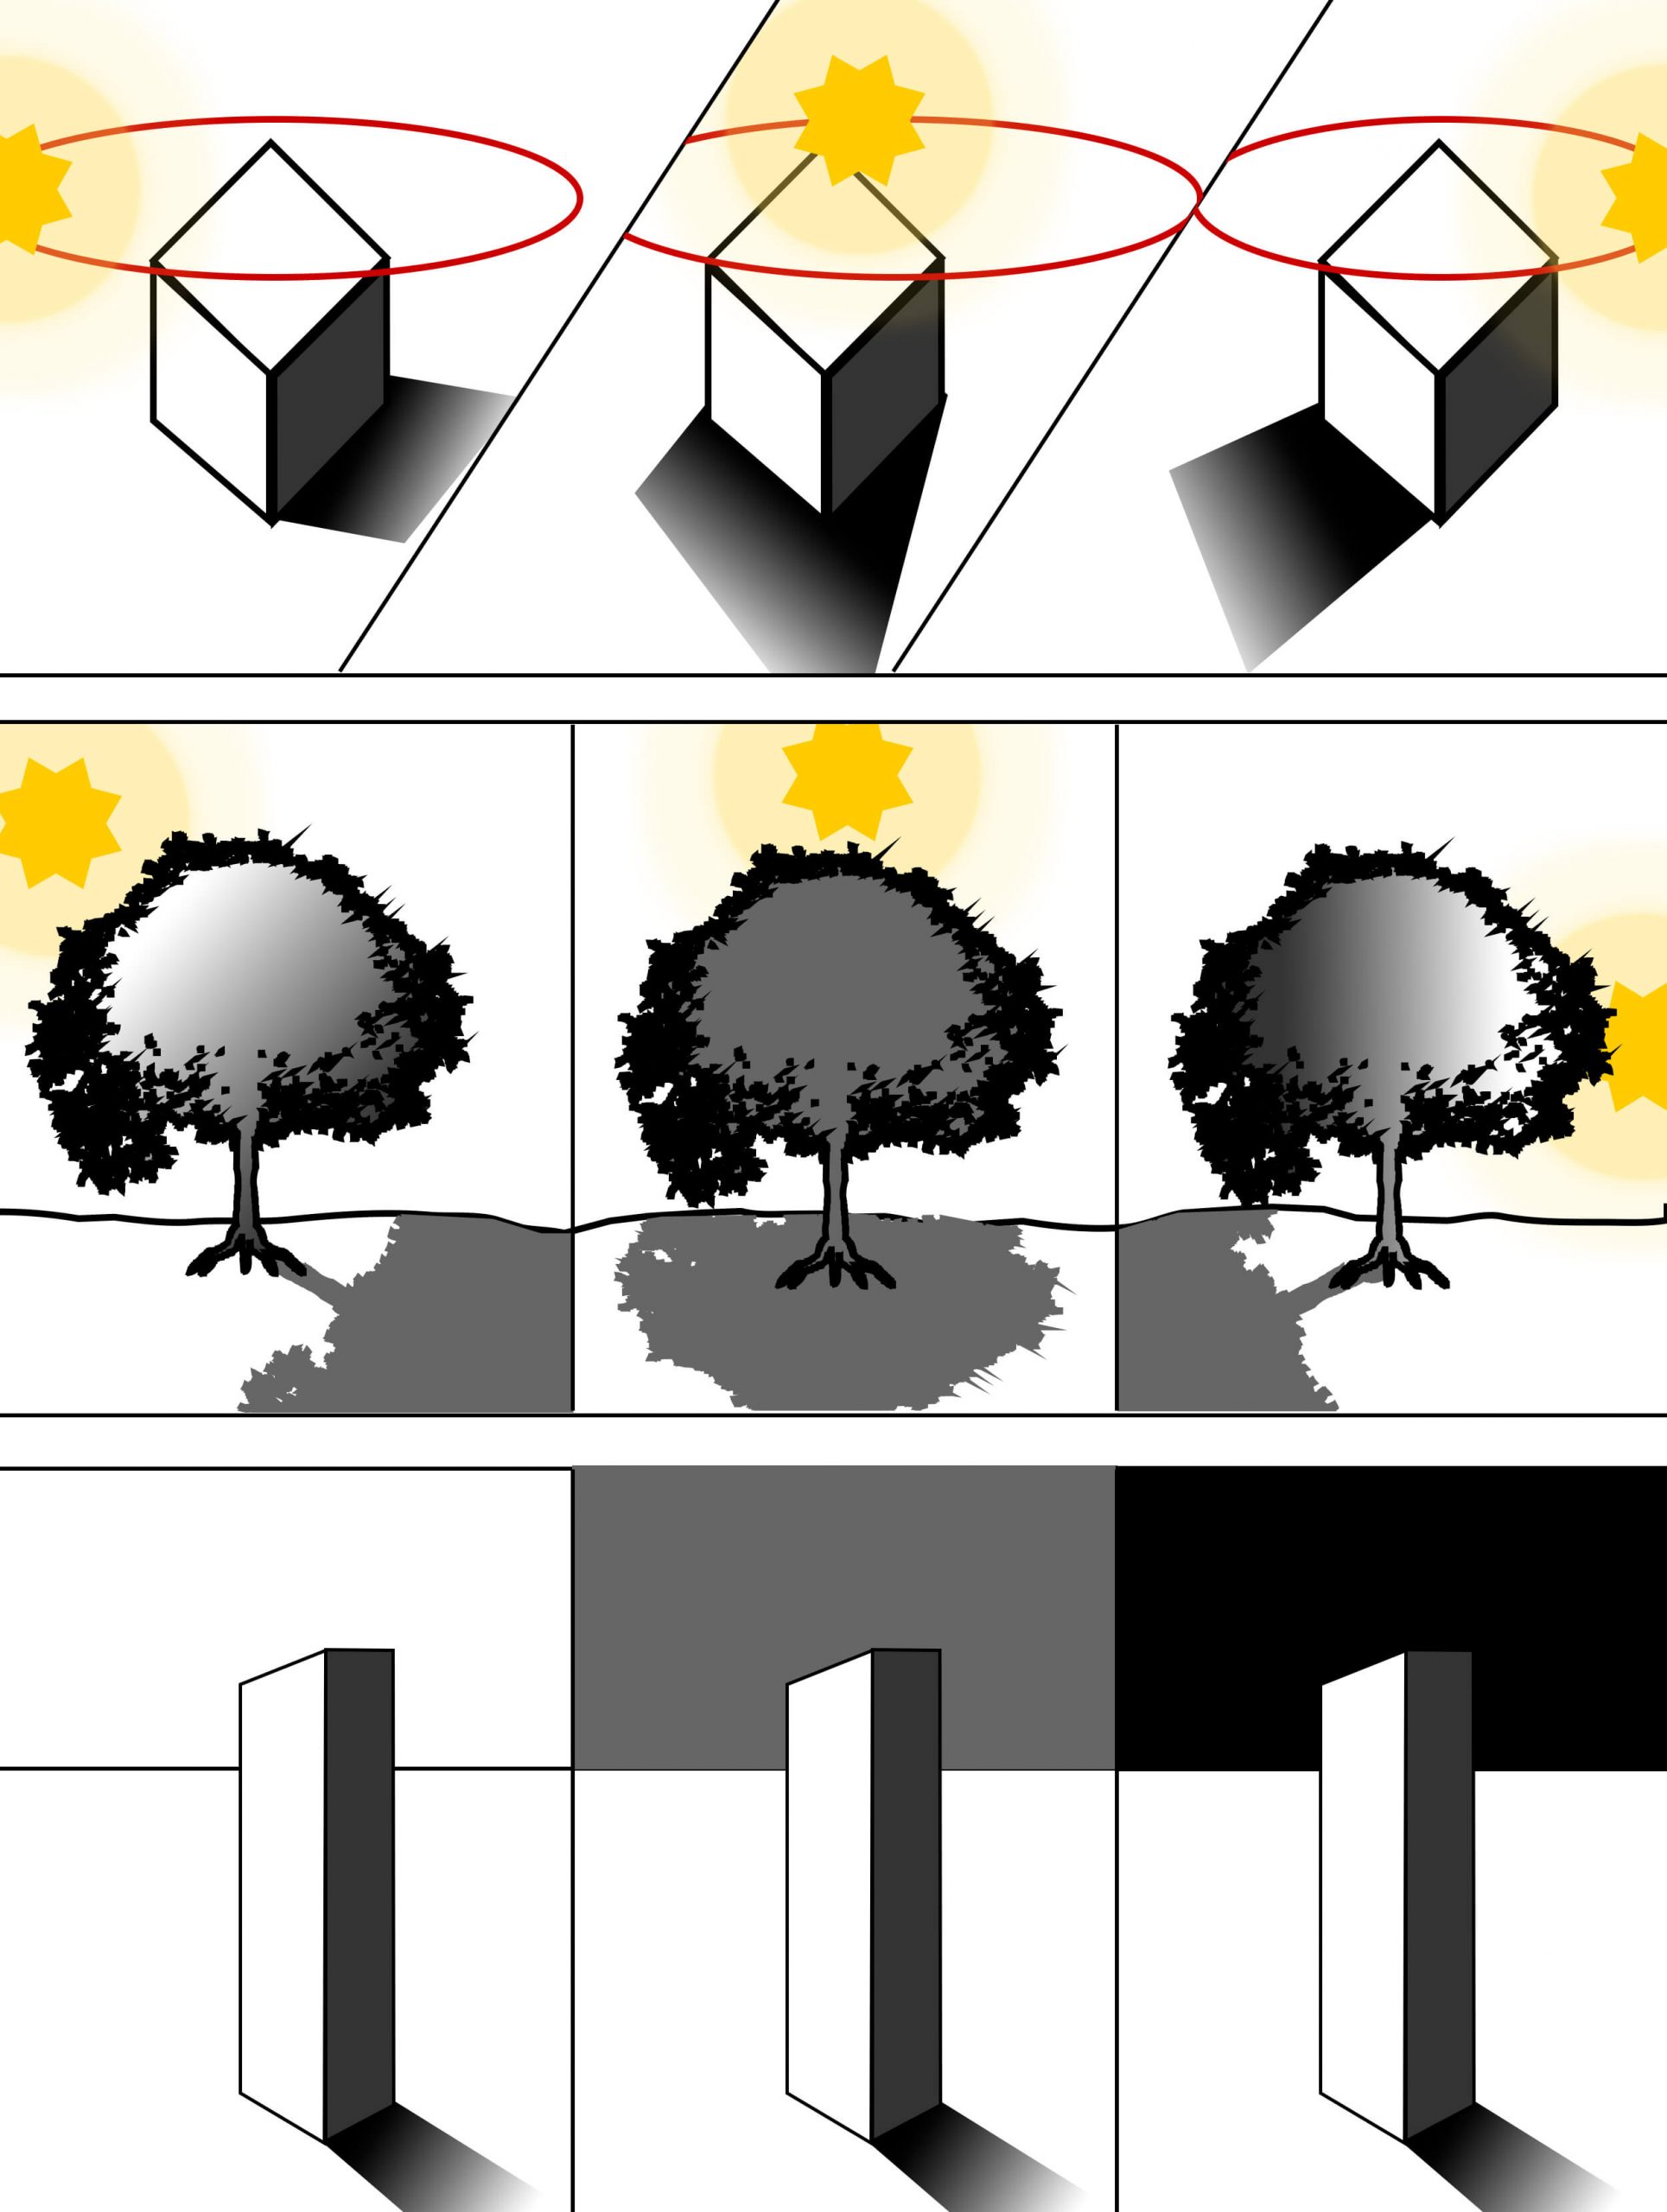
If the light source is behind the object, the shadows are cast toward the front (all visible sides of the object are in shadow). If the light source is on the right, the shadows are logically on the left. This would be the case with a single light source.
With multiple light sources, some shadows disappear or become lighter. The darkest spot is where the shadows meet. The brightness of the background is also a decisive factor.
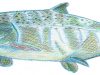
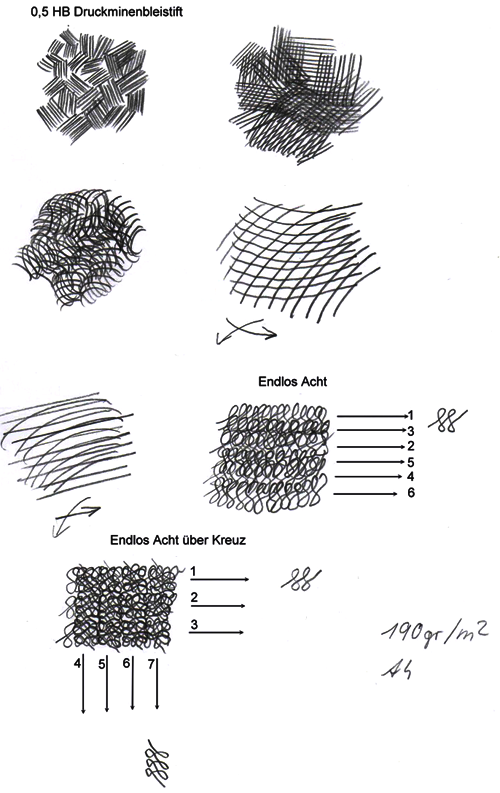
Hatching Techniques
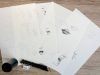
Here are some tips and techniques for hatching an image. Courtesy of our forum member Papajupe. In addition to cross-hatching, there are also more creative ways to hatch an image.
Blending pencil lines
Many artists like to use the blending technique to create particularly smooth transitions and variations in shading. When combined with shading and cross-hatching, this method can produce impressive effects using pencils of different thicknesses.

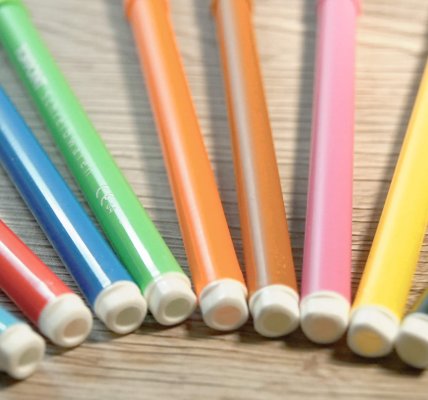
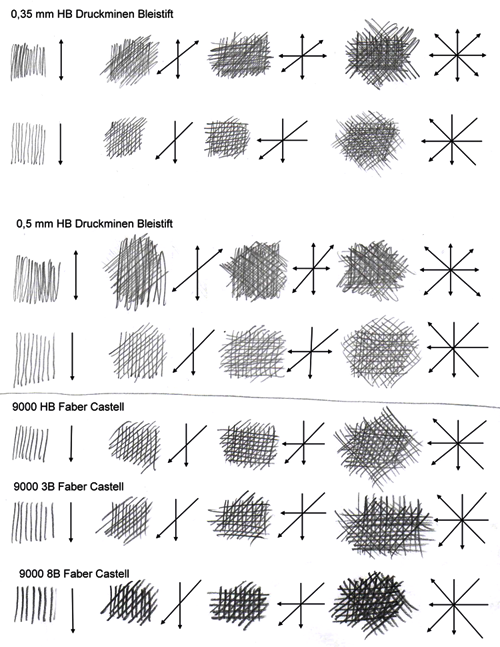
Pencil Hardness
The softness of the pencil lead (hardness grade) is primarily responsible for the darkness or intensity of a drawn line or shaded area with pencil.

Softer pencils are easier to smudge than harder ones. If you want to use the smudging technique, you should use pencils that are HB or softer.
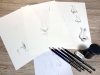
Ideally, you should use a mix of different pencil hardnesses to achieve a gradient from light to dark.
Blending with Tools
In addition to the hatching technique, blending pencil lines is also very popular. Many people use their fingers for this. If you know how to do it and work carefully, such shading can look very finely graded and realistic.
However, it is recommended to use tools such as cotton balls, blending stumps, cork, or erasers, as these are “clean” methods of blending.
In some artistic circles, blending pencil lines is also considered taboo or “forbidden,” since the actual shading technique is hatching. Ultimately, however, it comes down to your personal preference and what works best for you.
More Pages
From the blog (German)
- Blending and Shading with a Pencil
- Drawing technique: shading correctly with a pencil
- Which drawing technique is right for me?
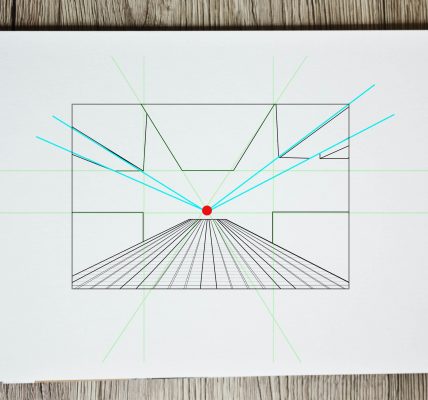
- Perspective and Shading in Basic Shapes