Coloring with markers
On this page you’ll find information about coloring with markers, as well as some tips and tricks. What markers are available and how can you best paint with them? What should you pay attention to? In this article, you’ll benefit from my over 10 years of experience with markers and numerous tests with now over 11 different manufacturers.
Coloring with Markers (For example, Copic Ciao)
What Are Markers?
The peculiarities of markers are clear; because they are alcohol-based, the color blends better together and leaves no lines, as is the case with felt-tip pens.
They are therefore popularly used by people who need them for professional or other professional coloring needs (e.g., manga or comic artists, graphic designers, interior designers, etc.). Unfortunately, good markers are very expensive.
Professional markers include Copics or Twin Touch Marker – allegedly there are no qualitative but very significant price differences between the two brands (Twin Touch Marker are, for example, much cheaper to obtain than Copics). However, it should be noted that with very frequent use, the investment in Copics can be worthwhile, as you can replace the tips and refill the colors with them.
However, as a newcomer to markers, one should initially only acquire basic or starter sets to learn the proper use of markers beforehand. Because even the best marker is useless if they are not used correctly. Furthermore, one should consider purchasing special marker paper, as it does not absorb the color as much as other papers, preventing the markers from drying out so quickly. In addition, the colors shine much more intensely on special paper than on normal paper.
White areas must be left out, as you cannot paint white.
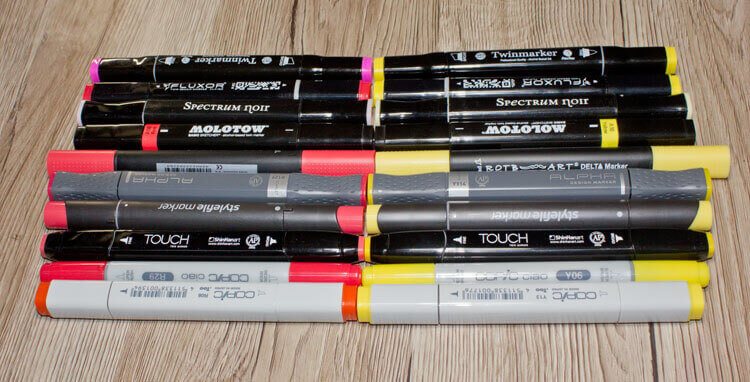
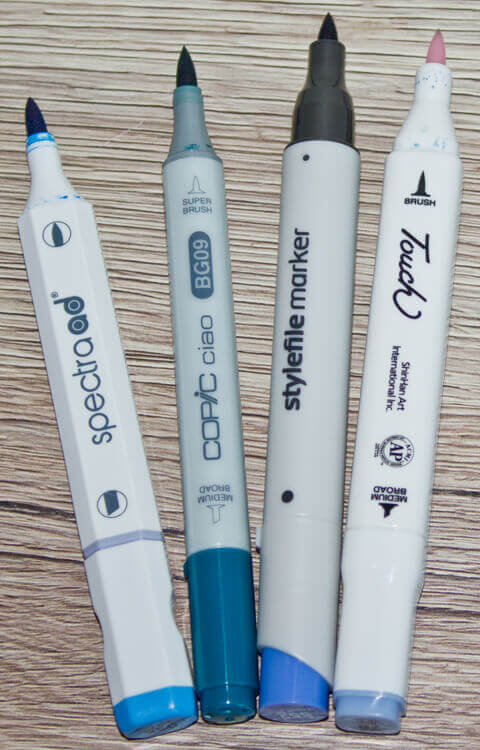
Various Marker Types
There are various marker brands besides Copic and Copic Ciao. I have written some articles about different alternatives on my German blog. I’ll introduce them to you in detail there:
- Alpha Design Marker
- Copic and Copic Ciao
- Chameleon Color Tones
- Delta Marker by RotBart
- Fluxor Marker
- Molotow Basic Sketcher
- Ohuhu Layout Marker
- Stylefile Marker
- Spectra Ad Marker
- Spectrum Noir
- Twin Touch Marker by ShinHan
- noname Cheap markers by Action
Quite often you read and hear that Copic markers are the best. Often it’s just speculation and conjecture because, let’s be honest, few bother to actually make comparisons and tests, instead they simply parrot what they’ve heard elsewhere.
I wanted to put an end to that!
That’s why I got the aforementioned brands myself, tested them all, painted, researched, and compared them. In my german ultimate marker comparison article, you can read about the conclusions I’ve reached.
YouTube Video: Comparison of Markers
Learning to Draw with Copics and Other Markers
I once had the pleasure during my first training in vocational school to paint with original Copic markers. But to be honest, they didn’t impress me at all. It must be acknowledged, however, that the pens were quite depleted, old, and worn out, so the painting fun was definitely tainted. Nevertheless, my desire to own markers was not awakened by this.
Sometime later, I read frequently about markers on the internet, and specifically their ability to color almost seamlessly fascinated me because with every kind of felt tip pen, you generally have those nasty lines. I did some research because I didn’t have much money during, and for some time after, my training. Therefore, I wanted inexpensive markers. I kept coming across Copics and as a cheaper alternative, Copic Ciao.
To be honest, that was still too expensive for me, considering how much it adds up to about 5 € per pen, and you need a decent color palette to be able to color everything. On eBay, I found a fairly affordable 60-piece Touch Marker case, back then for 120 €, about 2.50 € per pen. Copics reached prices of 300-400 € for a comparable amount, 5 € per pen (as of 2007). Now, a case (A or B) of Touch Markers costs around €170 upwards, about €3.65 per pen. Copics for a set of 72 cost around €350 upwards, 5 € per pen (as of 2013). More about the development of marker prices…
Once I had my markers in hand, I painted with them, colored, and shaded – almost non-stop. Shortly after I acquired my markers, someone in my forum told me that I should use marker paper (also layout paper), which wouldn’t bleed the markers as much. Done! With marker paper, you can prevent the bleeding even more easily, as long as you are quick enough and always paint in wet paint.
Despite having had the markers for so long and having painted so terribly much with them, they are still far from being as old and tired as one might think. This compensates for the “not being able to refill” the colors, which is possible with Copics. And also the tip, which can be replaced with Copics, is not yet frayed.
Then, much later, I got the Brush Marker case as well and experienced another new painting experience. The brush tip allows for the drawing of the finest lines. Even though I had a lot of fun with the Touch Markers for a long time, I’m considering whether I should eventually get Copics. At least then I can make THE direct comparison, which will definitely be worth a detailed article for my website.
In 2012, a forum member and Faber-Castell employee told me that Copics and Touch Markers come from the same manufacturer. Against this background, I no longer understand the “wars of faith” of marker users. 🙂
Coloring with Markers
In my German blog, I have painted many pictures with various layout markers. Here, I want to summarize some of my insights and experiences for you. If you want to delve deeper into the subject, you can visit my German blog. 😉
Use Proper Marker Paper
The foundation is to use proper marker paper and not to draw on printer paper, drawing paper, or even watercolor paper. The unique properties of alcohol-based layout markers cannot be achieved with the wrong paper!
Unfortunately, this point cannot be emphasized enough, as it is still done wrong by many (especially beginners), and the results unfortunately cannot meet expectations. If experienced artists deliberately use other papers, they have a specific goal in mind and know exactly why they decide differently here. But out of ignorance, one should not choose the wrong paper.
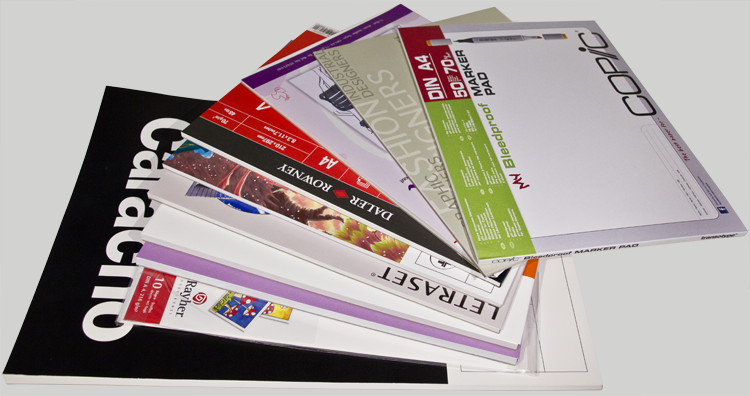
It is the personal preference of the artist whether they choose classic thin marker paper (60-80 g/m²) or thick marker paper (from 170 g/m² upwards). Important when buying paper are the necessary properties durchschlagfest (color does not bleed through the paper) or bleedproof. The designation “marker paper” or “illustration paper” alone is not sufficient to identify paper suitable for alcohol-based markers.
Practice is a very important point
Most marker artists have been working with illustration markers for years and have perfected their style and technique. They combine multiple marker tips (round tips, brush tips, chisel tips), work with refill ink, or combine their images with colored pencils, gel pens, or other materials.
For the wet-on-wet technique, speed is crucial when coloring with markers. Depending on the chosen marker paper, you need to be even quicker with thicker papers than with thinner ones, as the color dries faster.
However, the effect of layout markers also fails on larger areas. Here, you can only work in different stages or with patterns.
However, you can also layer by allowing the color layers to dry a little before painting over the area with the same or a different color. In numerous tests, I have been able to achieve up to six different color gradients from one marker.
Brush marker: Marker with brush tip
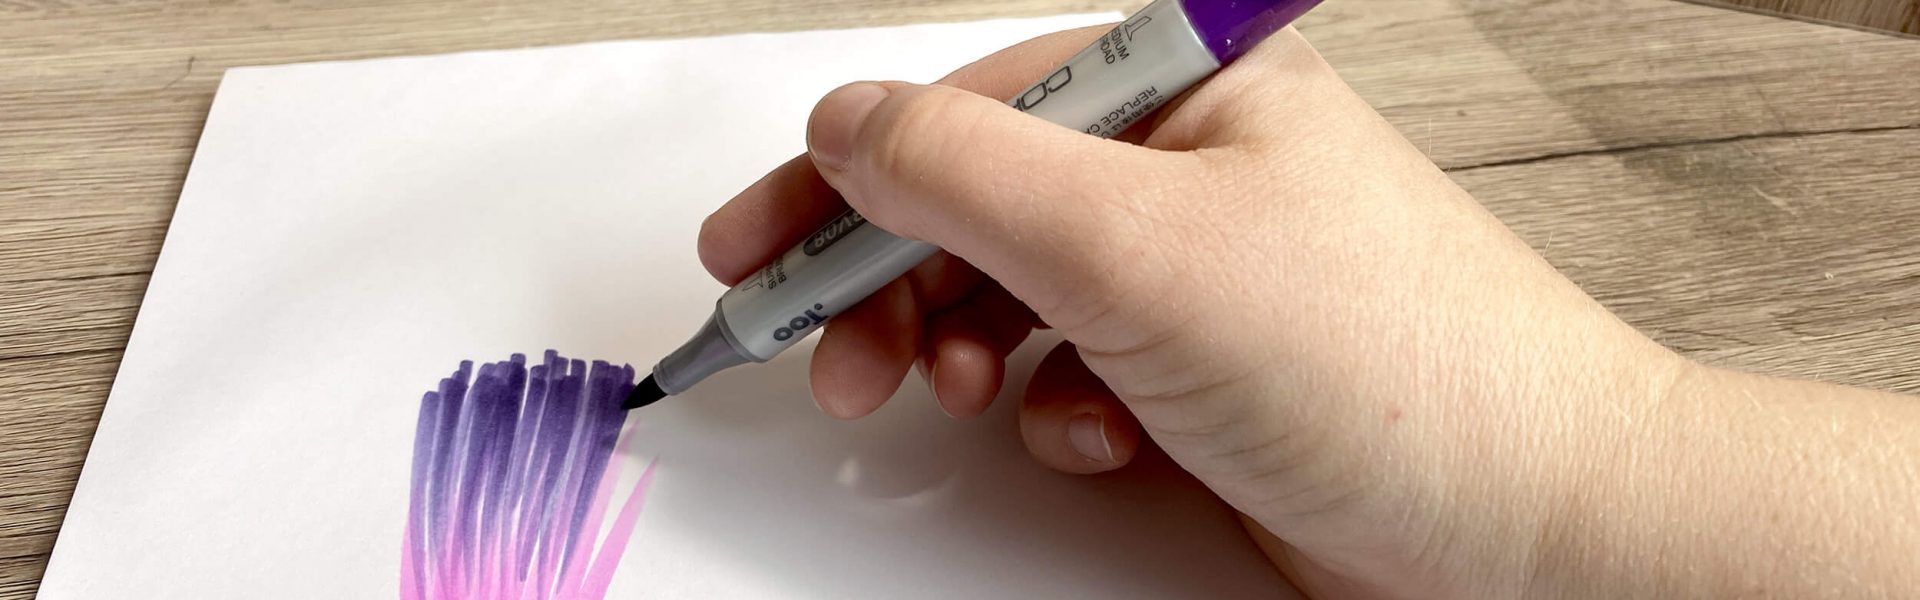
With the brush tip, new painting techniques open up for the artist when it comes to coloring with markers. You can draw several types of lines with one marker tip: thin and thick alike.
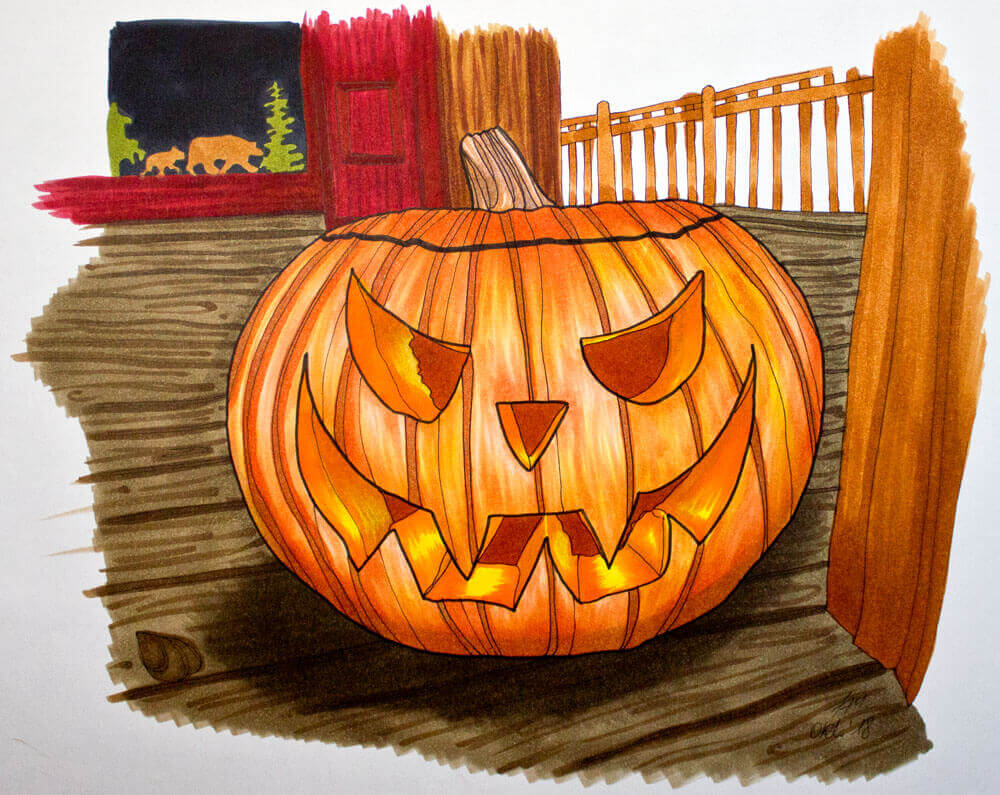
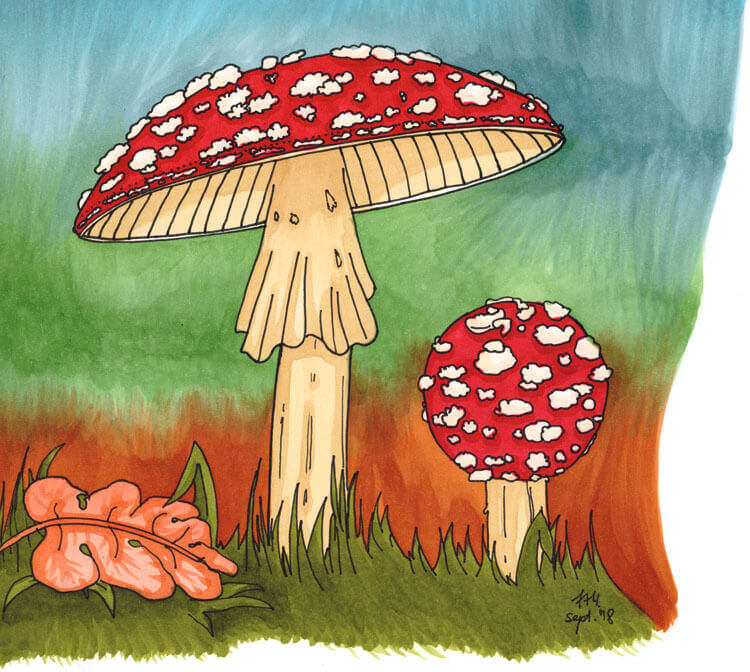
Painting gradients is also much easier with brush tips. You simply reduce the pressure and thus the contact of the tip to the paper, letting the color fade out gently. This can be seen very well in my mushrooms shown above or the pumpkin picture shown even further up.
Brush tips are also very popular in brush lettering (German blog) due to the many variable lines.
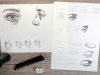
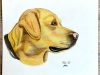
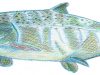
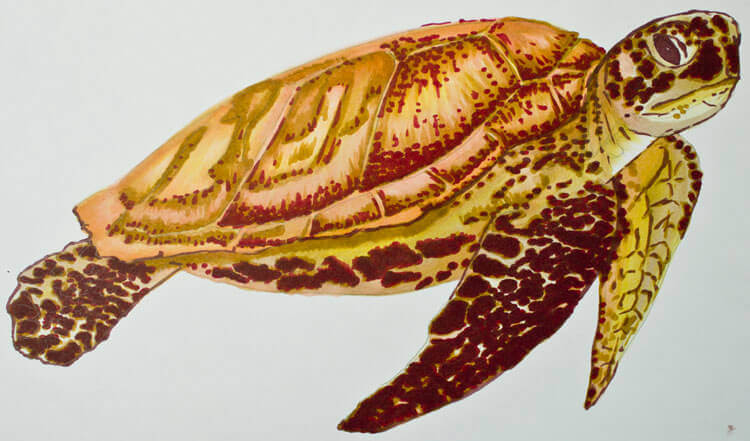
Example image – Coloring with markers for beginners
A small guide to coloring with alcohol-based markers. Here I show you some sample images that have been colored with markers. To be able to color the same picture multiple times, I scanned it, edited it a bit on the PC, and printed it out again. This way I could color the same motif on the same paper each time. Of course, you can also try it yourself – just print out the template and get started!
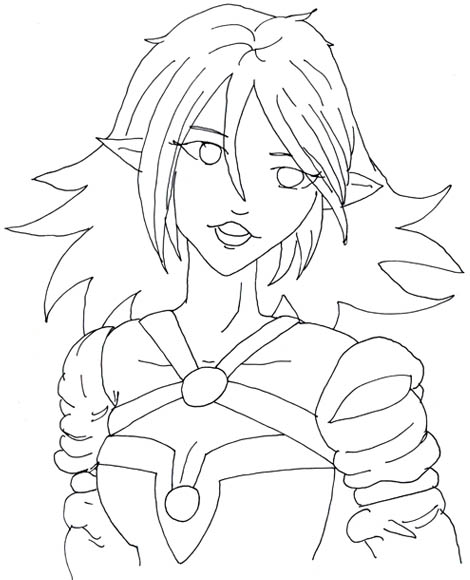
The template to be colored should have clear contours that cannot be smudged if possible. For my example, I first sketched a picture with a pencil and then traced the contours with a fine-tipped ink pen. Once the lines were dry, I carefully erased the pencil lines.

Since dark colors also cover more with markers, I started with the light colors. I immediately outlined the areas that should remain white and only colored the area around them. Gradually, I colored the light areas. Then I continued with the dark colors. Finally, I painted shadows with even darker colors.
Marker Techniques & Tips
Below, I explain the essential techniques and tricks you can use when painting with alcohol-based markers to achieve the best possible results. This always assumes that marker-suitable paper is used (see above).
Painting in Layers
Since your color choice is limited by the number of markers you have on hand, you can “mix” colors by painting an area with several different colors. This works best when the color you want to paint over is lighter than the one you are using to paint over it.

At least within a single color tone, you have the option to darken shades by painting over the same area repeatedly with the same color. You get the best effect when you let the previous layer dry a bit.
Depending on the marker and color tone, this can work up to six times.
Painting with the Colorless Blender
With a piece of plastic and a blender, you can achieve shading of the existing marker colors.
Wet-on-Wet Painting
To minimize unsightly lines like those from felt-tip pens when using markers, you should paint wet-on-wet. You paint over an area several times while it is still wet and work your way piece by piece to the unpainted areas.
This works best if you do not color too large areas at once but work gradually.
The Right Speed When Painting
A consistent speed and holding the markers correctly while painting are very important.
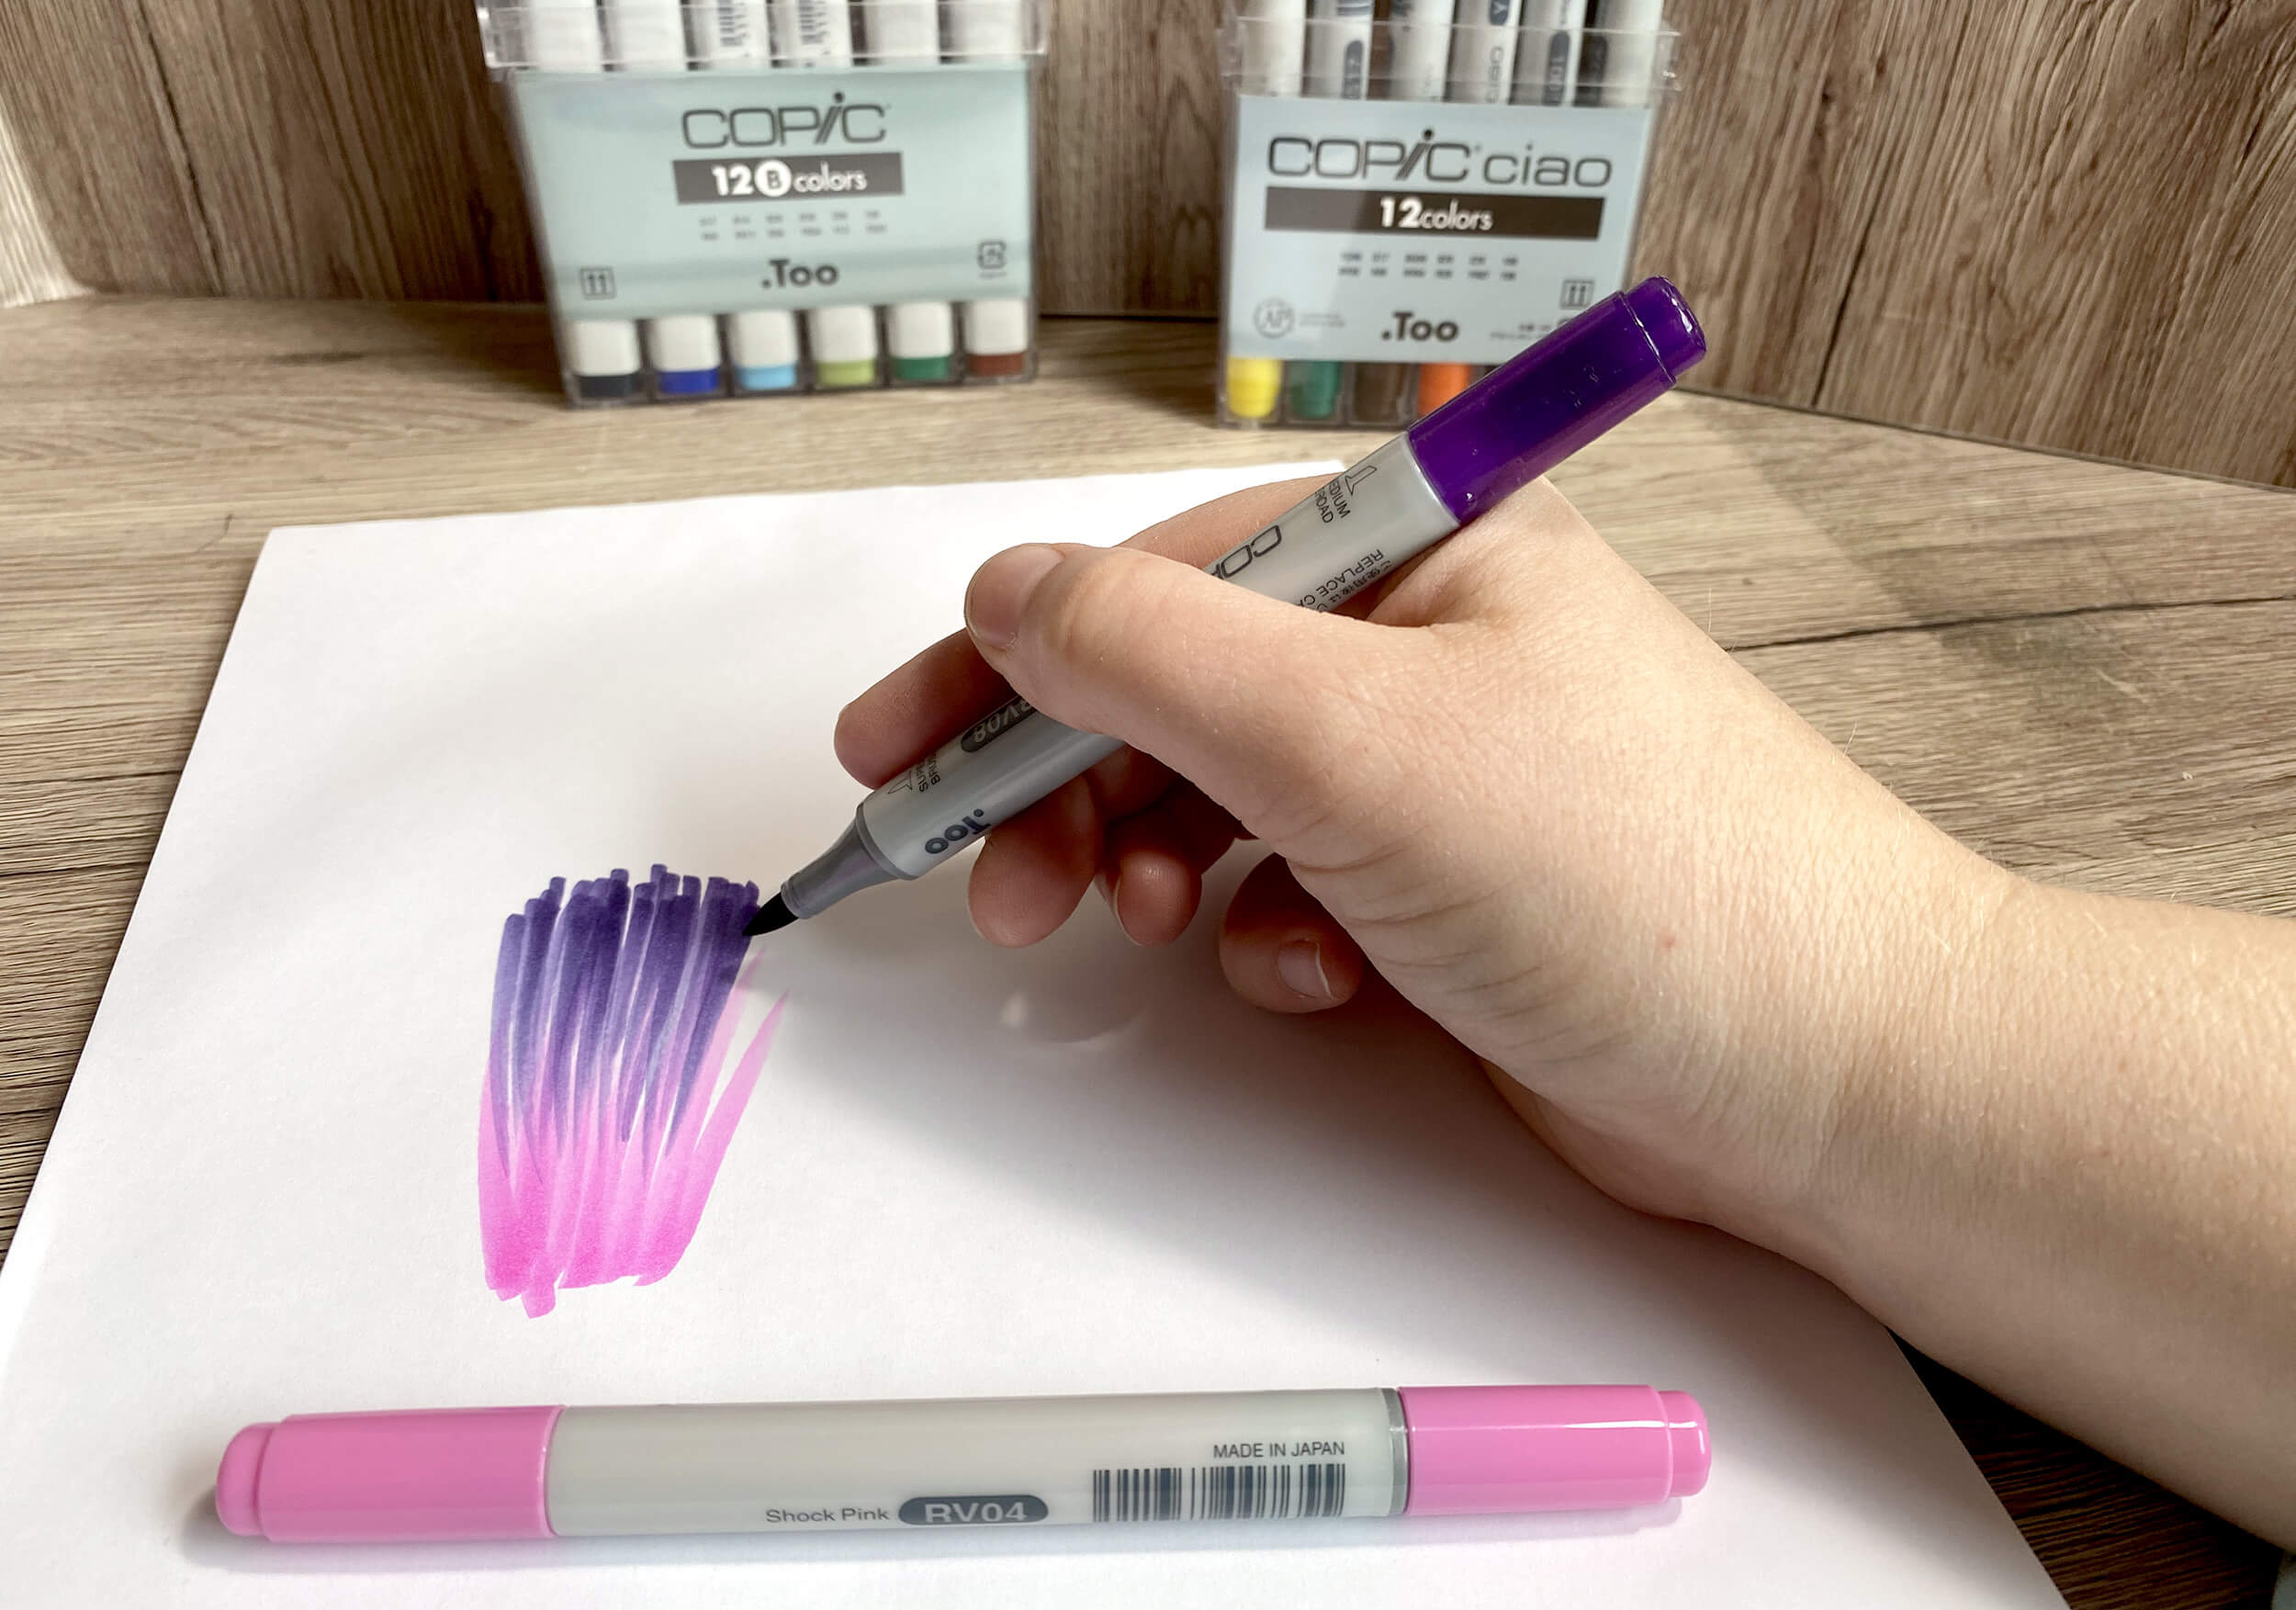
Brush Techniques & Varying Pressure
Specifically, markers with a brush tip are excellent for gradients. To achieve this, you deliberately use the flexibility of the brush by varying the pressure while painting. By smoothly “lifting” the marker from the paper, you can create smooth transitions from wide to narrow lines.

Even finer details can be achieved with gentle gliding of the brush tip, rather than pressing the entire brush onto the paper with force. Also important besides the pressure while painting is the angle of the brush.
More Pages
- Shading / Drawing Shadows
- Drawing Perspectives
- Design Laws
- Coloring with Colored Pencils
- Coloring with Felt-tip Pens