Coloring on the PC
On this page you will find information about coloring on the PC, as well as some tips and tricks.
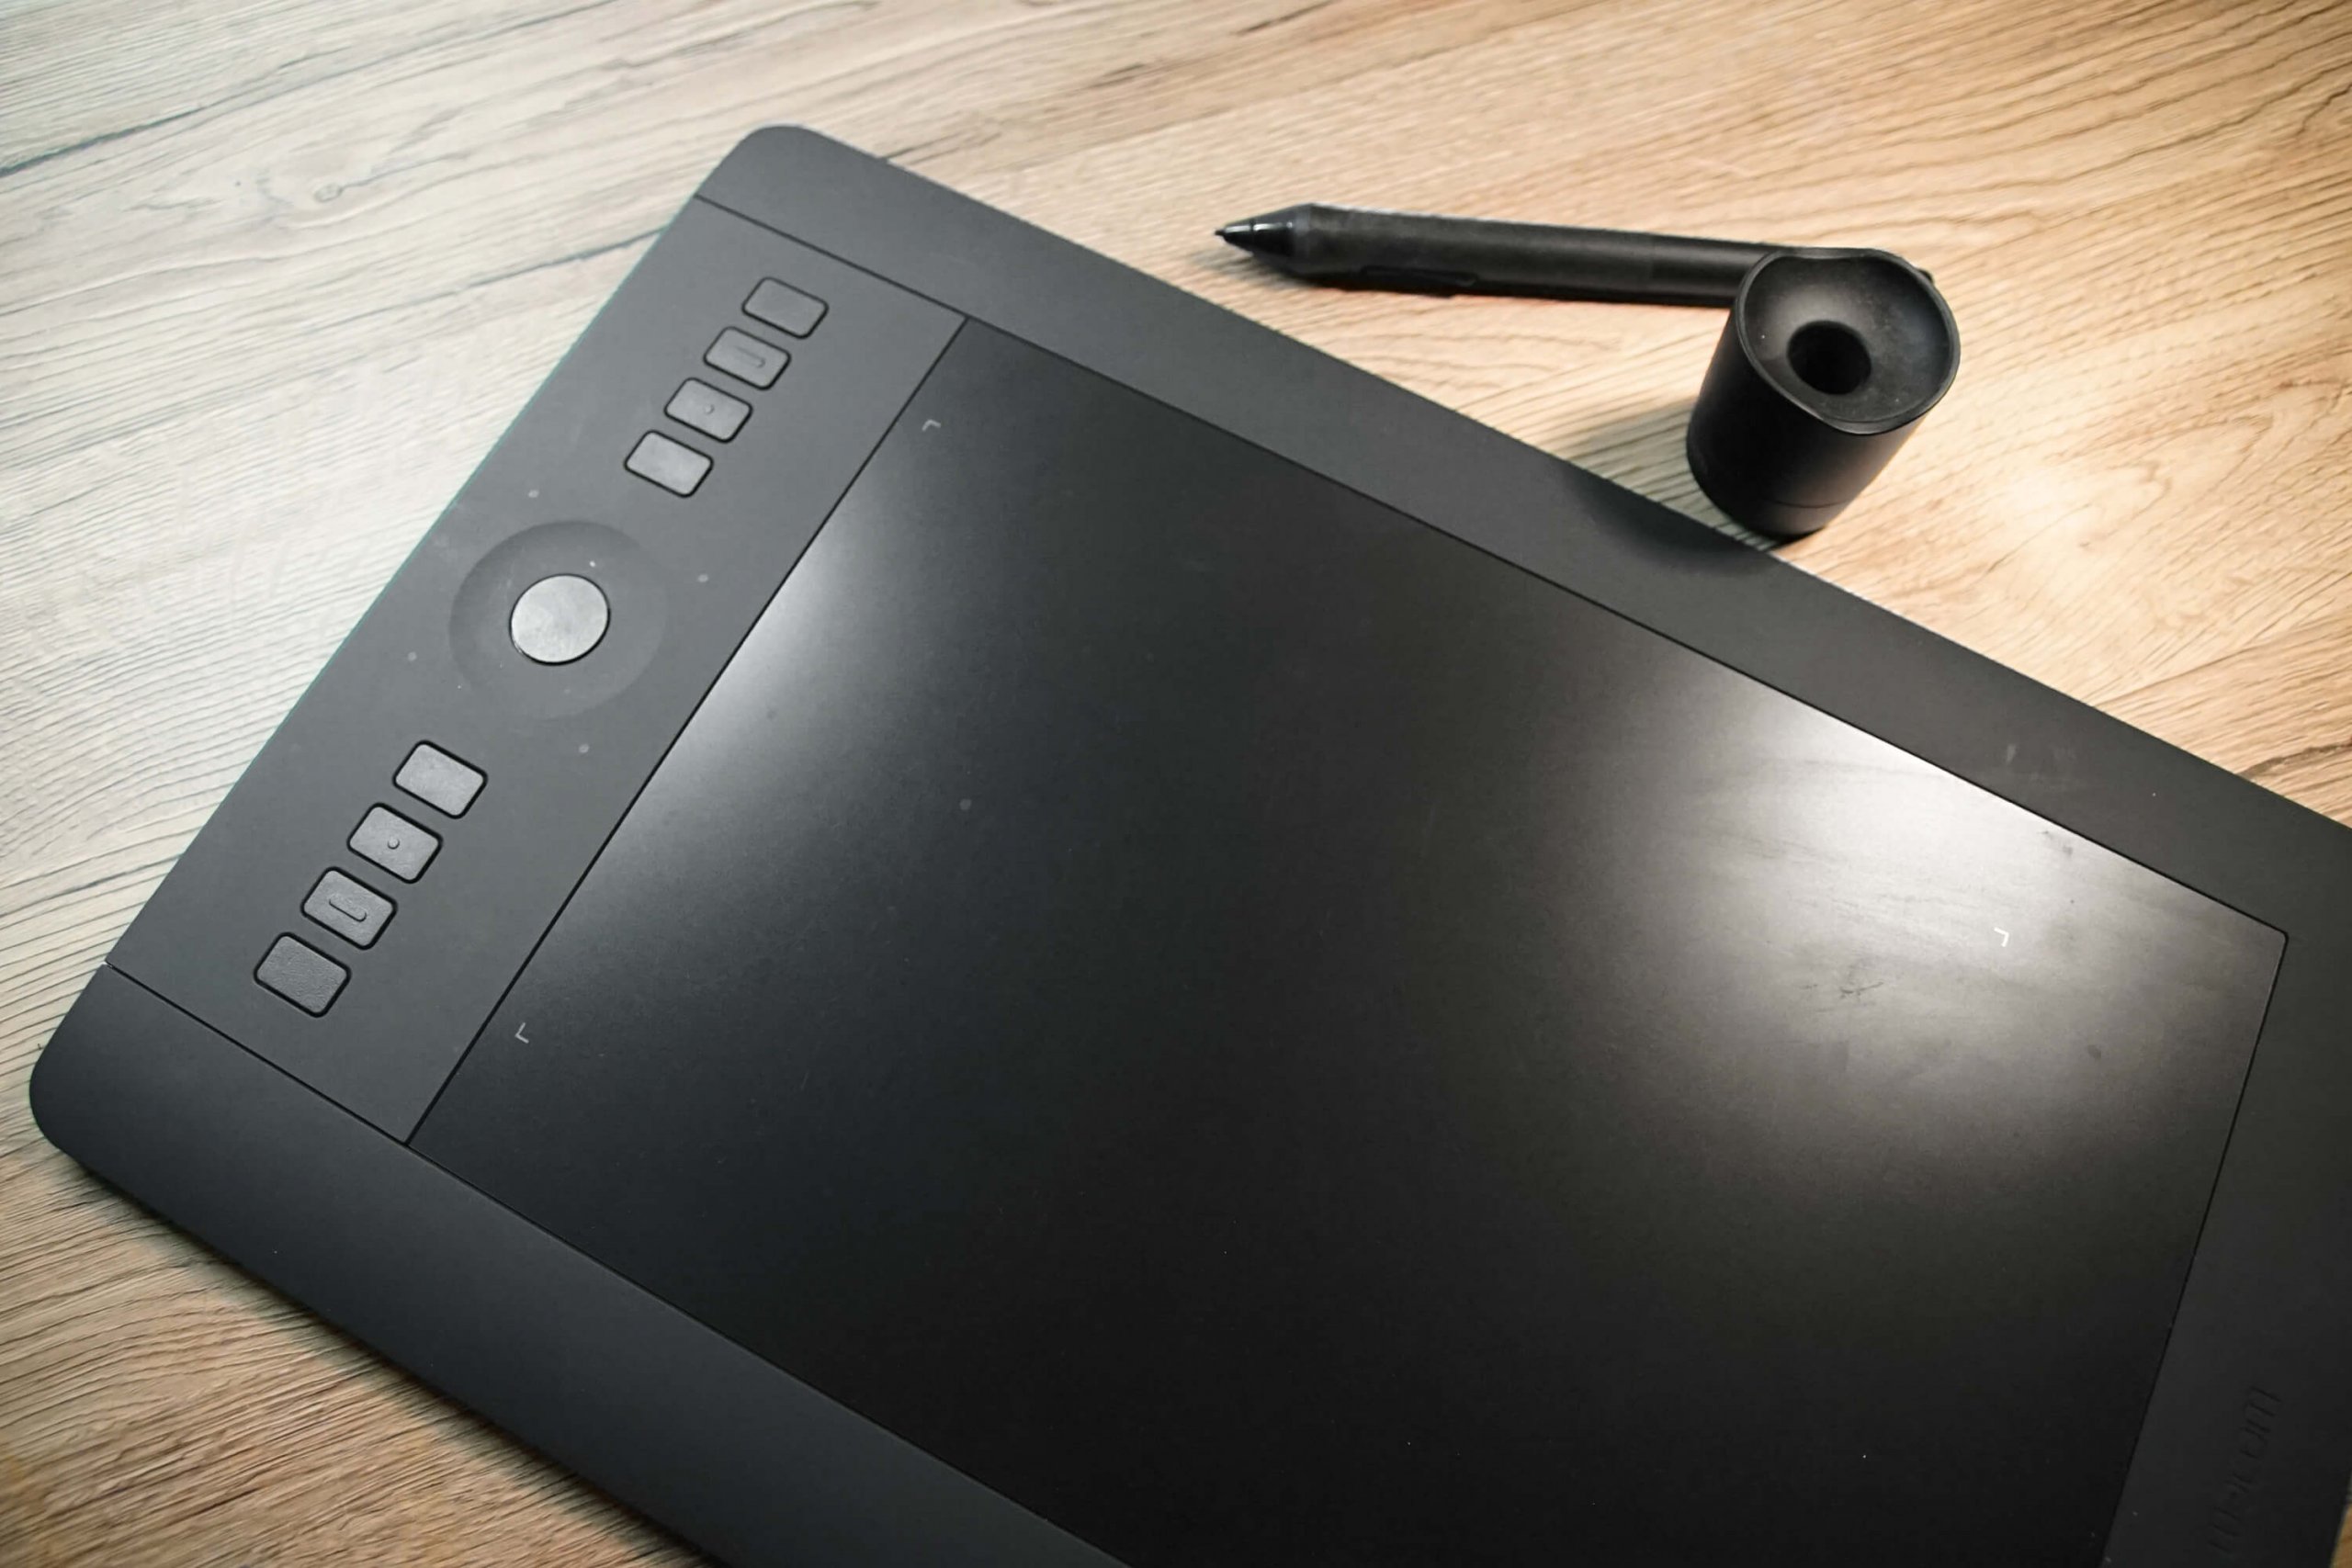
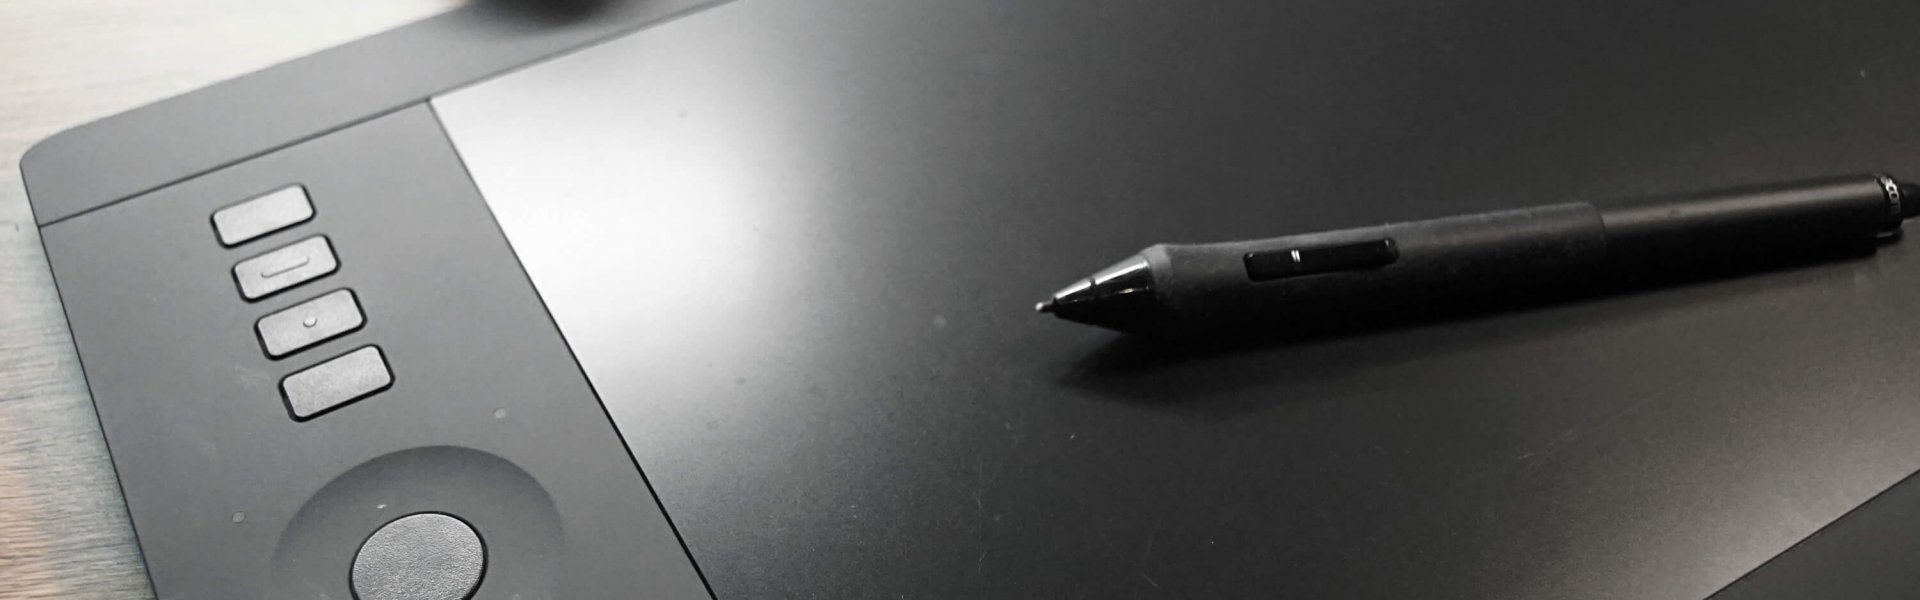
What You Need – Hardware, Software & Practical Tools
For effective digital coloring, you don’t need high-end equipment—but a precise input device makes a significant difference. Here are the key options for comfortable work—whether on PC, Mac, or tablet.
For PC & Mac: Drawing Tablets with Stylus
Beginners (affordable):
- XP-Pen Deco 01 V2, Wacom One S, Huion H640P
- No display surface, but reliable, lightweight & ideal for beginners
Mid-range:
- Wacom Intuos Pro M, Huion Inspiroy Dial, XPPen Magic Drawing Pad (German blog)
- Pressure-sensitive, more shortcut functions, better precision
Professional Displays (high-priced):
- Wacom Cintiq 16/22, XP-Pen Artist Pro, Huion Kamvas Pro
- With integrated screen – draw directly on the image
- Very popular for precise coloring & illustrations
For Mobile Work: Tablets with Drawing Apps
iPad + Apple Pencil (from mid-range):
- iPad (10th Gen) or iPad Air (M2) are ideal with Procreate
- For maximum power: iPad Pro (M4)
Alternatives (Android):
- Samsung Galaxy Tab S9 with S Pen (well supported in Clip Studio Paint)
- XPPen Magic Drawing Pad – lightweight, pen-friendly, standalone Android device
→ Ideal for on-the-go or as a Procreate alternative
Software & Tools (in brief)
- Compatible with Clip Studio Paint, Krita, Photoshop, Medibang Paint, Ibis Paint X
- Look for pen pressure support and shortcut functions
- Brush types: soft round, cell shading, airbrush, texture brushes
- Layer structure: lineart, flats, shadows, light, effects
What is a Stylus?
A stylus is a digital pen used for drawing or writing on a tablet, graphics tablet, or touchscreen.
Brief Explanation
- Works like a real pen, but draws digitally
- Detects pressure, tilt, and sometimes eraser functions
- Perfect for sketching, coloring, drawing, and writing
Two Main Types
1. Passive Stylus (capacitive)
- Works like a finger – no battery
- No pressure sensitivity, more for basic sketches
- Example: universal budget styluses
2. Active Stylus (with pressure sensitivity)
- Usually has over 1,000 pressure levels (e.g. 4,096 or 8,192)
- Detects line thickness based on pressure
- Often includes Bluetooth, tilt recognition, shortcut buttons
- Examples: Apple Pencil, Wacom Pro Pen, XP-Pen X3 Elite Stylus
Why a Stylus is Important
- Without it, you can’t color precisely on tablets
- Essential for pressure control, precision, natural stroke feel
Which Software is Best for Digital Coloring?
Whether on PC, Mac, or tablet, many powerful programs help you color digitally. For desktops, I recommend Clip Studio Paint, Adobe Photoshop, Krita, Paint Tool SAI, or Corel Painter. These support precise lineart, coloring, and lighting – and work well with tablets and layers.
On mobile, I use Procreate (iPad), but Ibis Paint X, Medibang Paint, Infinite Painter, and ArtRage Vitae are great too – perfect for portable or quick workflows.
For PC & Mac (Desktop Software)
- Clip Studio Paint
- Great for manga, comics, illustration
- Lineart, coloring, panels & animation
- Platforms: Windows, macOS
- One-time or subscription model
- Adobe Photoshop
- Classic for digital painting and retouching
- Large brush variety, ideal with tablets
- Platforms: Windows, macOS (subscription)
- Krita
- Free & open source with powerful painting tools
- Great for illustration, concept art, animation
- Platforms: Windows, macOS, Linux
- Paint Tool SAI
- Lightweight, great for clean lineart and simple coloring
- Platforms: Windows (Mac via emulator)
- Corel Painter
- Focus on natural media and brush textures
- For artists who want a “real painting” feel
- Platforms: Windows, macOS
For Android & iOS (Mobile Apps)
- Procreate (iPad only)
- Standard for illustrators on iPad
- Huge brush library, fast, no subscription
- Platform: iPad (Apple Pencil recommended)
- Ibis Paint X
- Great for manga/anime style, tons of free brushes
- Stable and loved by hobbyists
- Platforms: Android, iOS
- Medibang Paint
- Free, cloud-based, good for comics/illustration
- Cross-platform
- Platforms: Android, iOS, Windows, macOS
- Infinite Painter
- Natural feel, intuitive UI
- Loved by concept artists and illustrators
- Platforms: Android, iOS
- ArtRage Vitae
- Simulates traditional media (oil, watercolor, etc.)
- Platforms: Android, iOS
Coloring with the computer
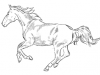
A little guide to coloring on the computer. Here I show you a few examples of pictures that have been colored on the computer.
Of course you can also try it out yourself – just print out the template and off you go!
Coloring on the PC is very time-consuming and requires a good graphics editing program (e.g. Adobe Photoshop or Paint Shop Pro etc.). To be able to color the image on the PC, you have to digitize it (preferably using a scanner, but digital cameras or drawing pens with which you can draw directly on the PC are also possible). There is an almost unlimited number of colors available for coloring on the PC.
The advantage of digital coloring is also that you can undo individual steps, which is not possible when painting on paper. In addition, you can also overpaint with white and, depending on the program, have a wide range of tools at your disposal.
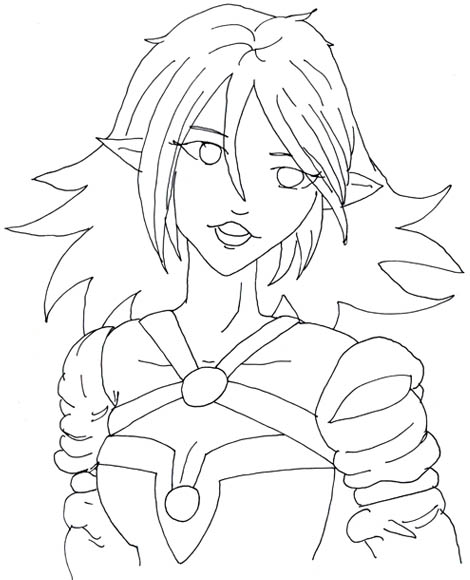
The template to be colored should have clear contours which, if possible, cannot be blurred again. For my example, I first drew a picture in pencil and then traced the contours with an ink pen with a fine tip. As soon as the lines were dry, I carefully erased the pencil lines. To be able to color them on the PC afterwards, they have to be scanned in.
The higher the resolution (dpi) at which you scan, the larger the image but also the better the quality of the scan. After scanning, you can then reduce the image in an image editing program.
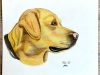
First I colored in all the areas. Then I painted shading over them. Then I painted the shiny areas. Last but not least, I gave the picture a background and added a painting filter (Photoshop function) to the previously colored areas so that the color gradients became smoother.
Modern digital coloring step by step (2025)
In this guide, I’ll show you how to create a complete digital colorization in anime and fantasy style in six easy-to-follow steps – from clean line art to the final lighting effects with an atmospheric background.
This new coloring tutorial 2025 is based on current techniques and uses modern functions that have long been standard in programs such as Procreate, Clip Studio Paint, Krita or Photoshop – including clipping masks, layer modes, light corrections, colored outlines and atmospheric color gradients.
This tutorial is for beginners and advanced illustrators who want to color their figures vividly, brightly and professionally – ideal for character designs, posters, artwork or a convincing portfolio.

Basic drawing (line art on a clean background)
- Draw a clean outline with even lines.
- Use “Multiply” mode so you can color underneath.
- Tip: If necessary, use vector layers in Clip Studio Paint for precise control.
Flat Colors
- Create a layer under the line art.
- Select a base color for each area (skin, hair, clothing).
- Use selection and fill tools, work as flat as possible and without shading.
- Clipping masks are very helpful here to work cleanly.
Basic shadows
- Create a new layer above the flats, set to Multiply.
- Shade with soft or hard brushes where there is little light.
- Use cool, slightly desaturated color tones – e.g. purple-grey for skin, red-brown for hair.
Light accents (highlights)
- New layer in ”Glow”, ‘Screen’ or ‘Add’ mode.
- Bright points of light on edges, forehead, cheeks, nose and hair.
- Light source is usually from diagonally above – make sure the direction is consisten
Background & atmosphere
- Add a background layer: e.g. an abstract mix of warm colors (orange, blue, turquoise).
- Use large brushes, textures or airbrushes.
- Optional: soft edge light around the figure (light aura) on a separate layer.
Color correction, gloss & mood
- Combine all layers in a group or copy.
- Place a layer with a color gradient or vignette (overlay / soft light) on top.
- Intensify the lighting effect with a targeted light source (e.g. lights from behind).
- Final fine-tuning: increase contrast, fine-tune saturation, possibly a slight glow around the figure.
Layer structure for rebuilding in programs
- [ Effects / Light correction ]
- [ Light / Highlights ] (Add / Glow)
- [ Shadows ] (Multiply)
- [ Flat Colors ] (separately for each area)
- [ Lineart ] (Multiply)
- [ Background ]
Tips for coloring on the PC
You should get to know the possibilities of the program you are using well in advance – there are numerous tutorials on the Internet for this. Photoshop, for example, allows you to paint on different layers.
Coloring with Photoshop (beginner’s tutorial)
Even though Adobe Photoshop is not actually intended for painting, many artists like to use it for digital art. Here I show you one way of coloring in Photoshop.

Preparation and implementation
Here I show how I prepare an image for coloring in Photoshop and some tricks on how to color areas. For the example, I used my Easter picture, the contours of which were drawn with an ink fineliner. You can see the finished picture here.
- Step 1Contour images are best scanned in black and white mode as a bitmap image. Depending on how high the dpi (dots per inch or resolution) is set for the scan, the larger the result will be in pixel size.A setting of up to 300 dpi is usually sufficient for printing. For display on the screen, 92 dpi is more than sufficient. Nevertheless, it can be worth scanning in higher resolutions, especially if you want to scan printed matter and do not want the print dots to be too obvious.If you reduce the pixel size of the image again after scanning, the pixels move closer together and thus form a clearer, higher quality image. You have to try out which resolution is sufficient for your image. But normally a maximum resolution of 600 dpi is perfectly fine for drawings. After scanning, you can change the brightness and contrast of the image to achieve clearer contours.This is best done using a gradation curve. By adding marker points and moving them up and down, you can make very fine adjustments to the brightness and contrast without any great loss of quality. With pencil scans, for example, you can completely remove the very bright, disturbing tonal values and enhance those that represent the pencil lines.
This allows you to achieve very good digital image quality even with pencil drawings (also works very well with other images).

- Step 2
This can be set under “Adjust > Brightness/ Contrast” to make the contours stand out even better against the background.
You can use the slider to make the image brighter and darker and to make it more or less contrasty.
- Coloring on the PC – Step 3
Under “Window > Channels” you can select the individual color channels of the image.
- Step 4
If you select all the channels under the channels (using “Load channels as selection” at the bottom right), you can delete the white area on the image layer with the contours (which must not be present as a background layer) (press Delete on the keyboard or click “Edit > Delete”).
- Coloring on the PC – Step 5
If you only have the bare contours, you can colorize in the layers below.

- Step 6
As you can see, the colors shine through under the contours.
- Step 7
Under “Image > Adjust > Hue/Saturation” you can further increase the contrast of the contours.
- Coloring on the PC – Step 8
To increase the contrast, reduce the LAB brightness and increase the saturation. It may be worth repeating this step.
- Step 9
With the polygon lasso tool, you can also mark and remove the areas in the image that have been created by the scan (e.g. by an unclean glass surface of the scanner) and cause unsightly spots.
- Colorizing on the PC – Step 10
Now you can create different layers to colorize different areas of the image. It is definitely worth using different layers for different colors so that you can edit them later if necessary.
If you are afraid of losing track of the many layers, you can rename the individual layers to make them easier to recognize later – otherwise, if you click on the eye to the left of the layer, you can test which layer you currently have by hiding it briefly.
- Step 11
If you don’t feel like painting with the brush with pixel precision or have accidentally painted over the contours, you can use the polygon lasso tool to mark and delete the areas that have been crossed over.
- Step 12
The polygon lasso tool can be placed quite precisely.
- Coloring on the PC – Step 13
You can also use the magic wand tool to mark completed areas of the image. The Magic Wand tool selects all pixels in the surrounding area that have the same or a very similar color tone.
In this case, select the contour layer to select the areas to be colored and apply the color to the other layer.
- Step 14
Once you have selected an area, you can fill the area with color under “Edit > Fill area” (the upper color is always used, unless you set something else).
- Step 15
You can also fill the area with color using the fill bucket tool.
- Coloring on the PC – Step 16
If you underline the contours, the contours will appear even clearer and richer.
The rest of the coloring on the PC works as described in the tutorial above.
More Pages
From the German Blog
- Create Tilt-Shift / Miniature Effect in Photoshop
- Edit Photos: Funny Eyes on Fruits & Vegetables
- Create a Photoshop Collage: Mythical Creature Gryphon
- Create Metal Effects in Photoshop
- Create Silhouettes in Photoshop
- Improve Photos with Photoshop Tone Correction
- Create Punch-Out Effect with Photoshop
- Easy Recoloring with Selective Color Correction
- Blur Background with Photoshop Masking
- Draw and Design Reflections