Coloring with wax crayons
On this page you will find information about coloring with wax crayons, as well as some tips and tricks.
Coloring with wax crayons
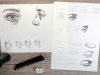
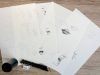
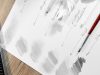
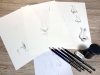
A little guide to coloring with wax crayons. Here I show you a few examples of pictures that have been colored with wax crayons. To be able to color the same picture several times, I scanned it, edited it a little on the PC and printed it out again. This way I was able to color the same motif on the same paper each time. You can of course try it out for yourself – just print out the template and off you go!
The peculiarities of wax crayons are similar to those of colored pencils; they do not cover completely and therefore always let the white paper shine through a little. There are also white wax crayons, but you cannot paint over areas that have already been colored. Therefore, white areas must be left out as you cannot paint white.
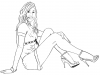
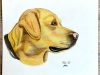
Coloring with wax painter – sample picture for beginners
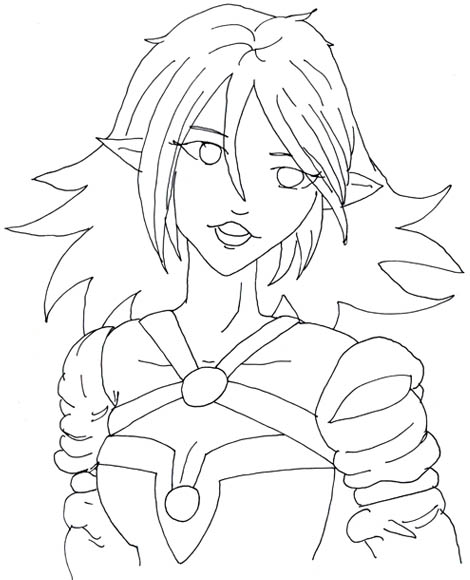
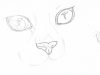
The template to be colored should have clear contours which, if possible, cannot be blurred again. For my example, I first drew a picture in pencil and then traced the contours with an ink pen with a fine tip. As soon as the lines were dry, I carefully erased the pencil lines.

As dark colors cover more even with wax painters, I started with the light colors first. I immediately outlined the areas that should remain white and only painted the area around them. I gradually painted in the light areas. Then I continued with the dark colors. Finally, I painted shading with even darker colors.
Coloring with wax painter tip
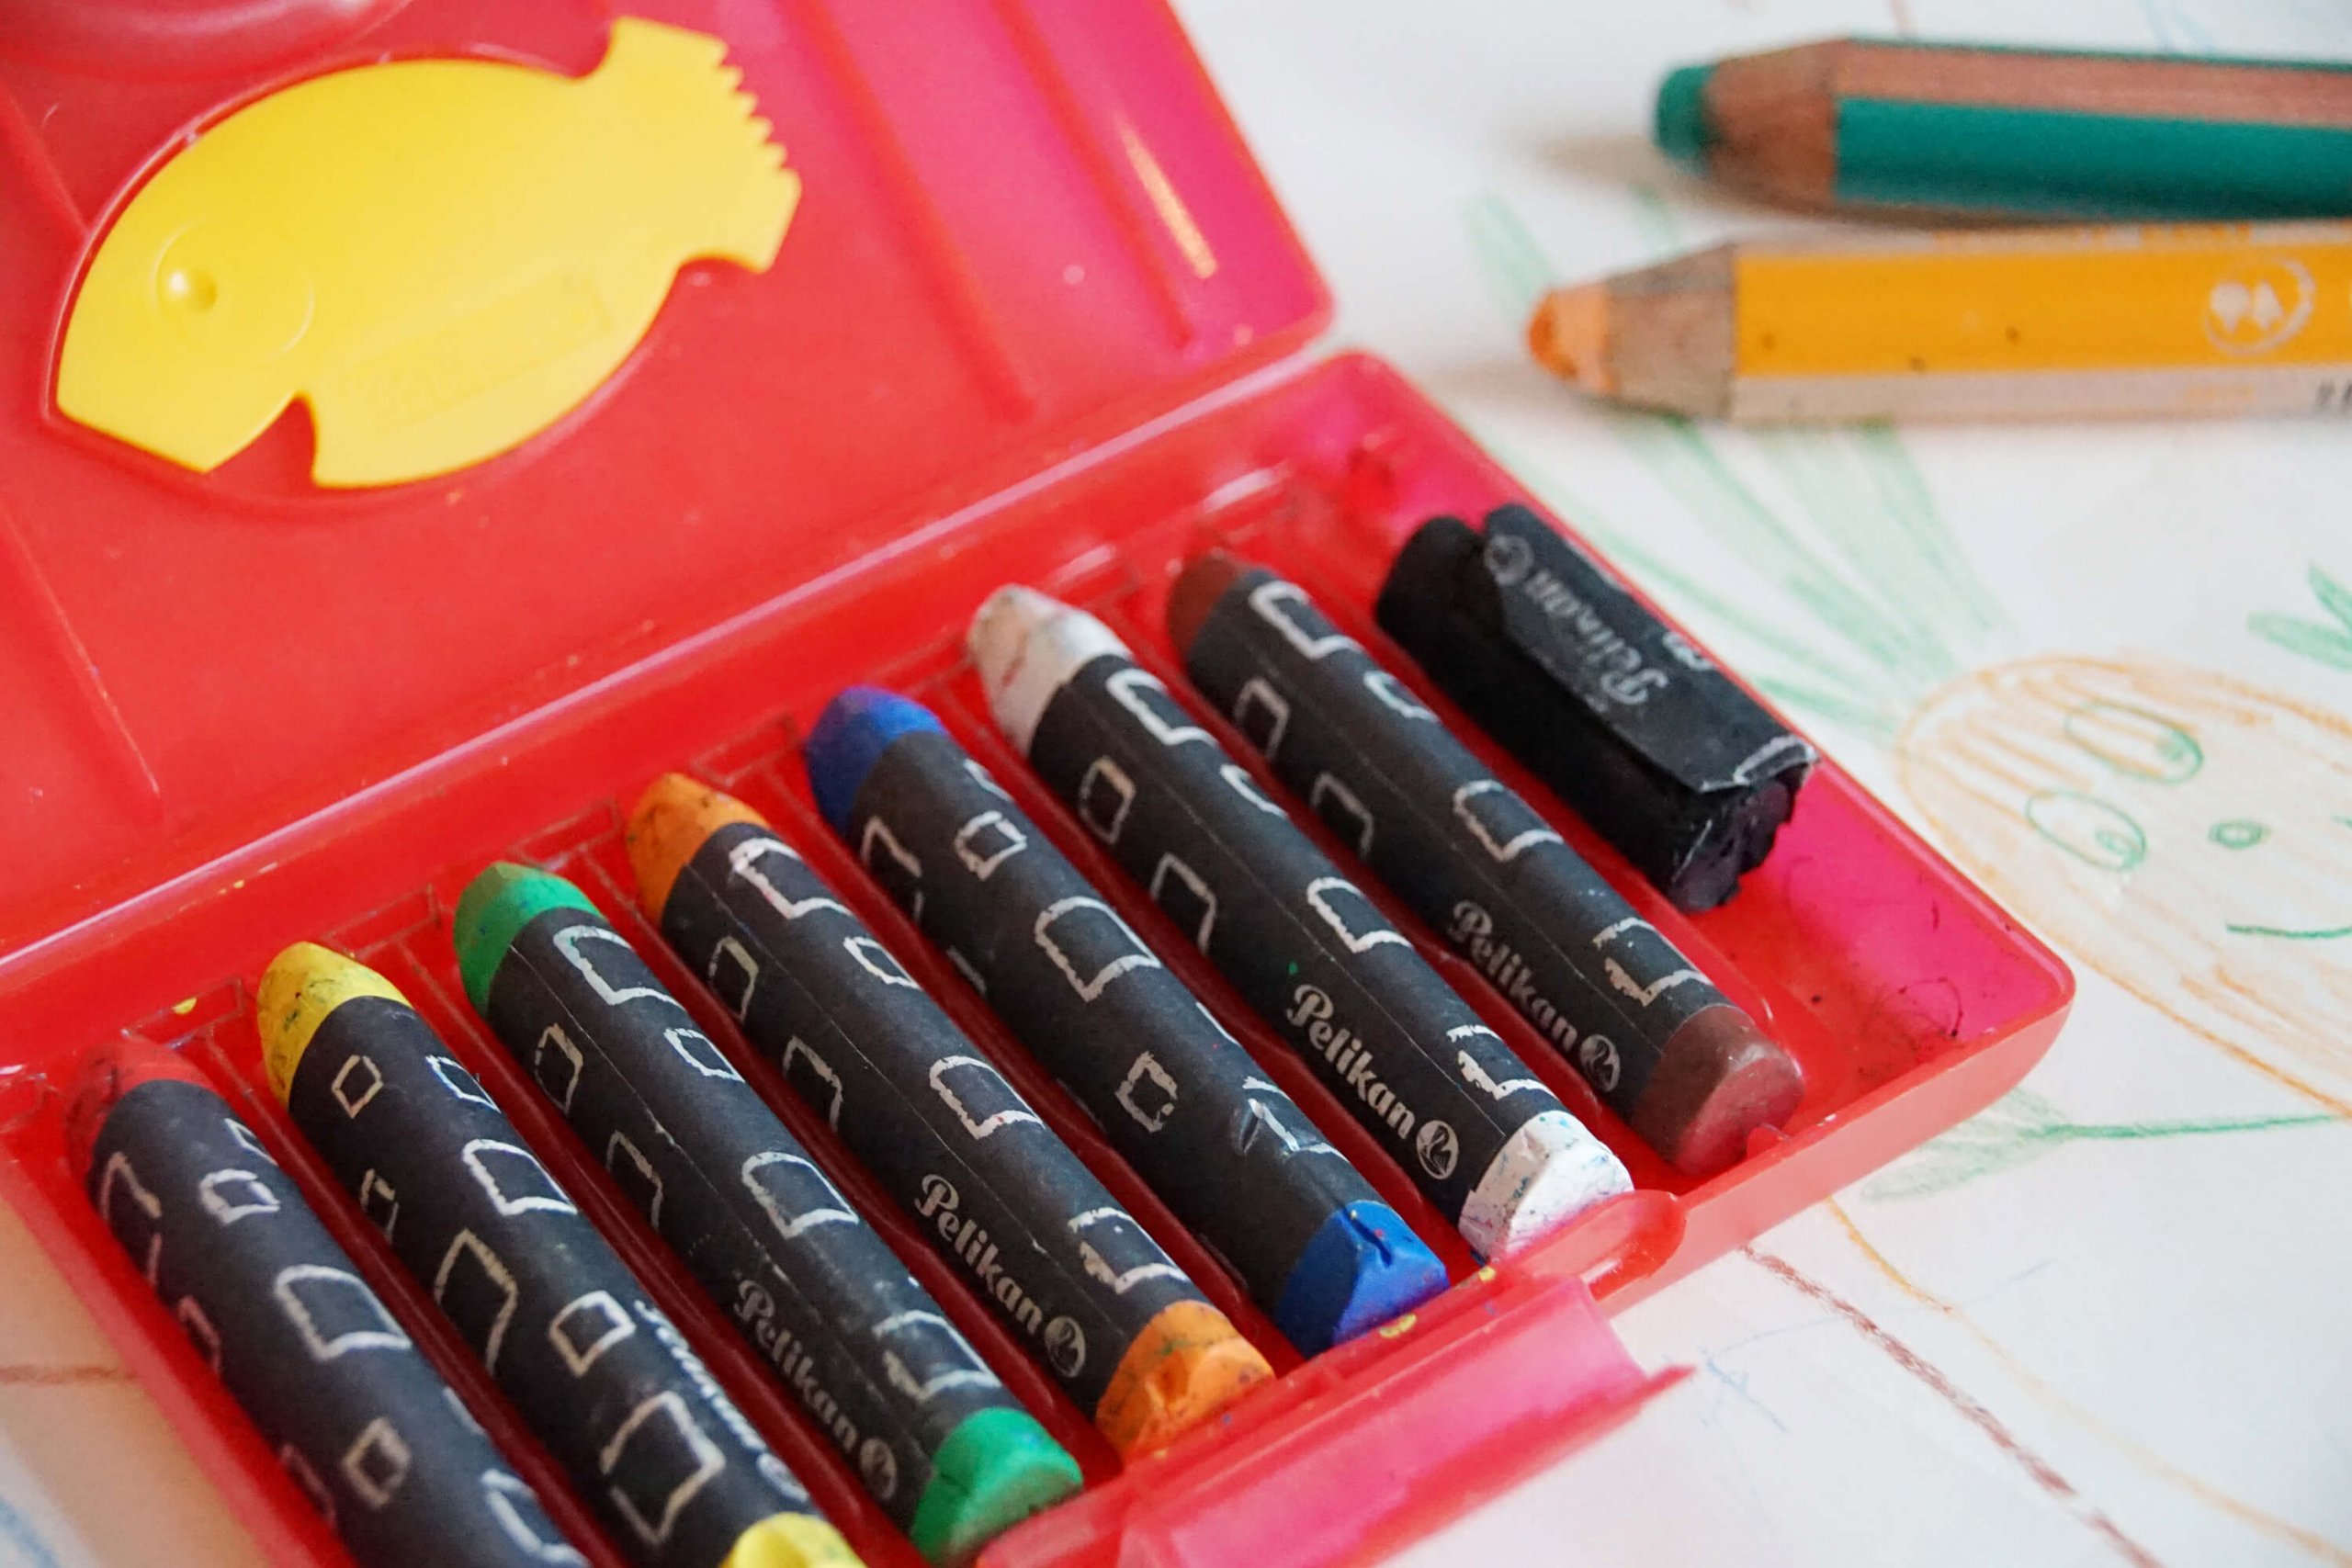
As you are limited in your choice of colors by the number of pencils you have at hand, you can “mix” the colors by painting over an area with several different colors. This works best if you have not painted the surface too opaque with the first color.
You can also sharpen wax crayons with a sharpener to make it easier to color in corners and edges.
More Pages